Page 5 of 9

Leather Hanging Shelf

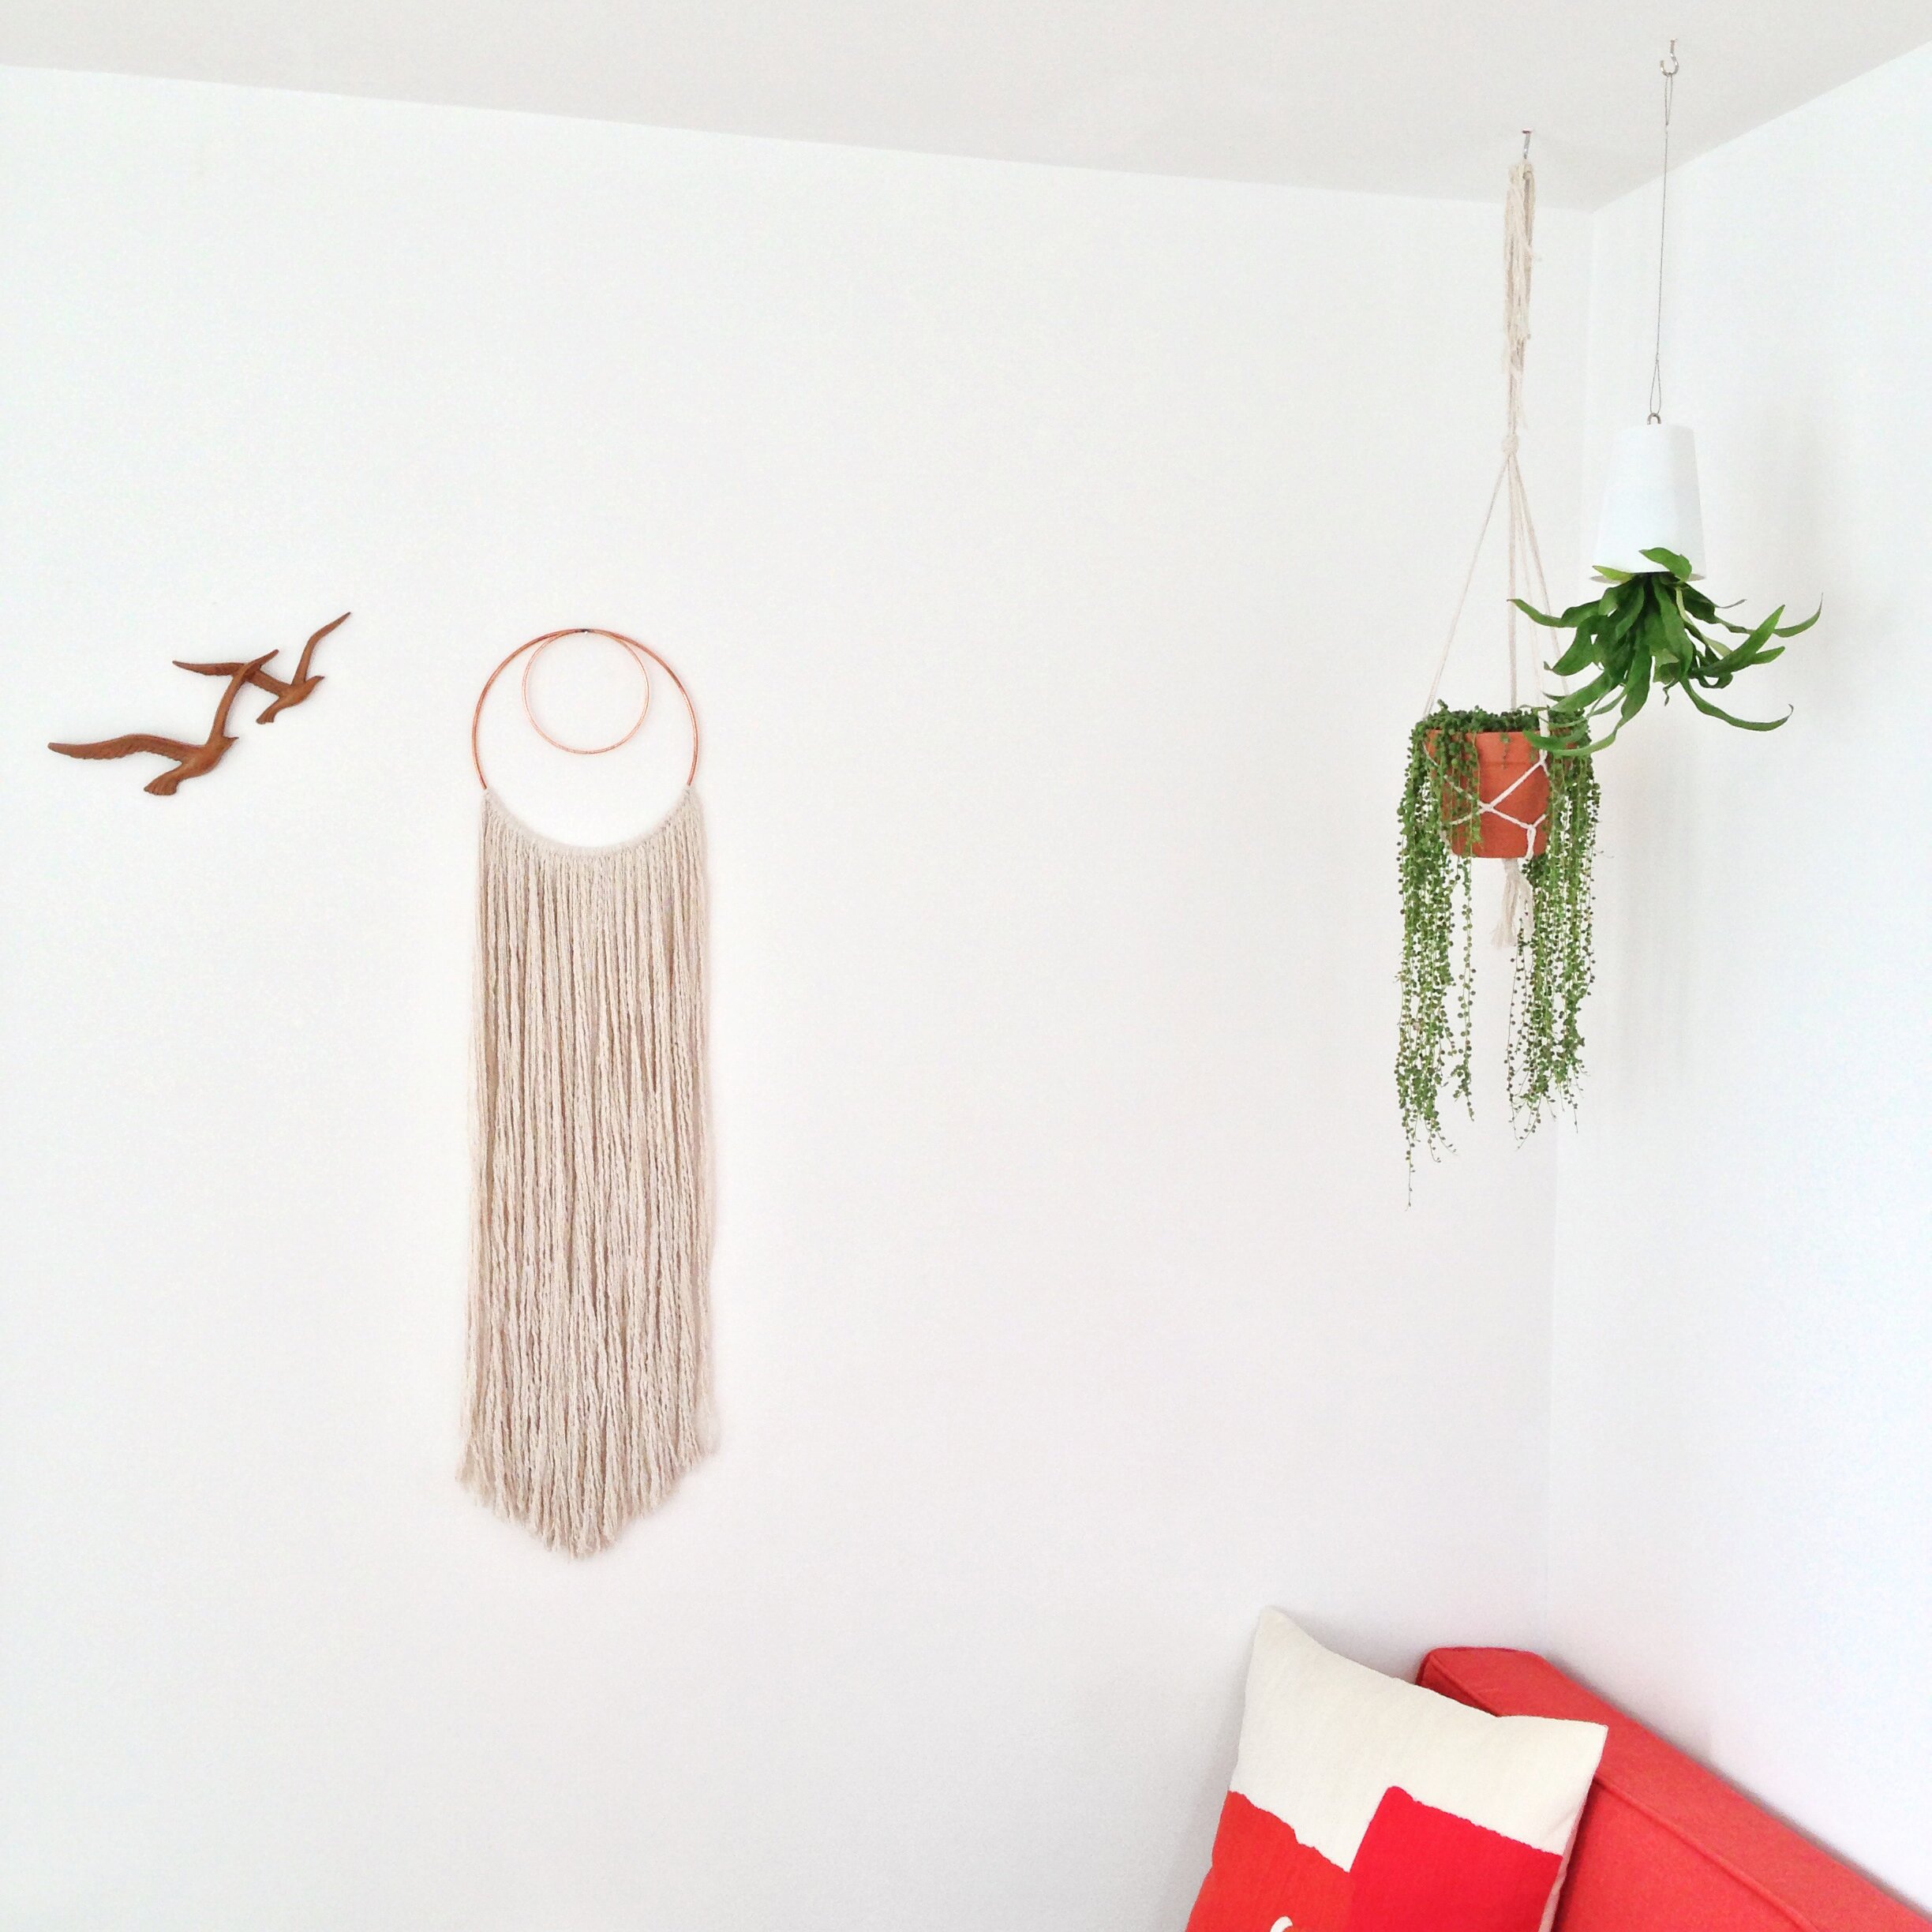
Finishing off our bedroom has been a tricky one. It’s the last room in the flat to complete and it seems to be taking forever. We need lots of storage but also want our things to look nice and not just thrown in a corner or everything piled high on boring shelves. I’ve seen a few decorative shelves around using old belts or leather straps so decided to make this one for our sleepy space.


You will need

Leather strap (approx 200cm long for this shelf)

Wooden shelf (ours is 82cm x 17cm)

Screws (I used black but brass look good too)

Scissors or scalpel knife

Ruler / Measuring tape

Drill

Spirit Level

Wall plugs / fixings that are suitable for your wall


1

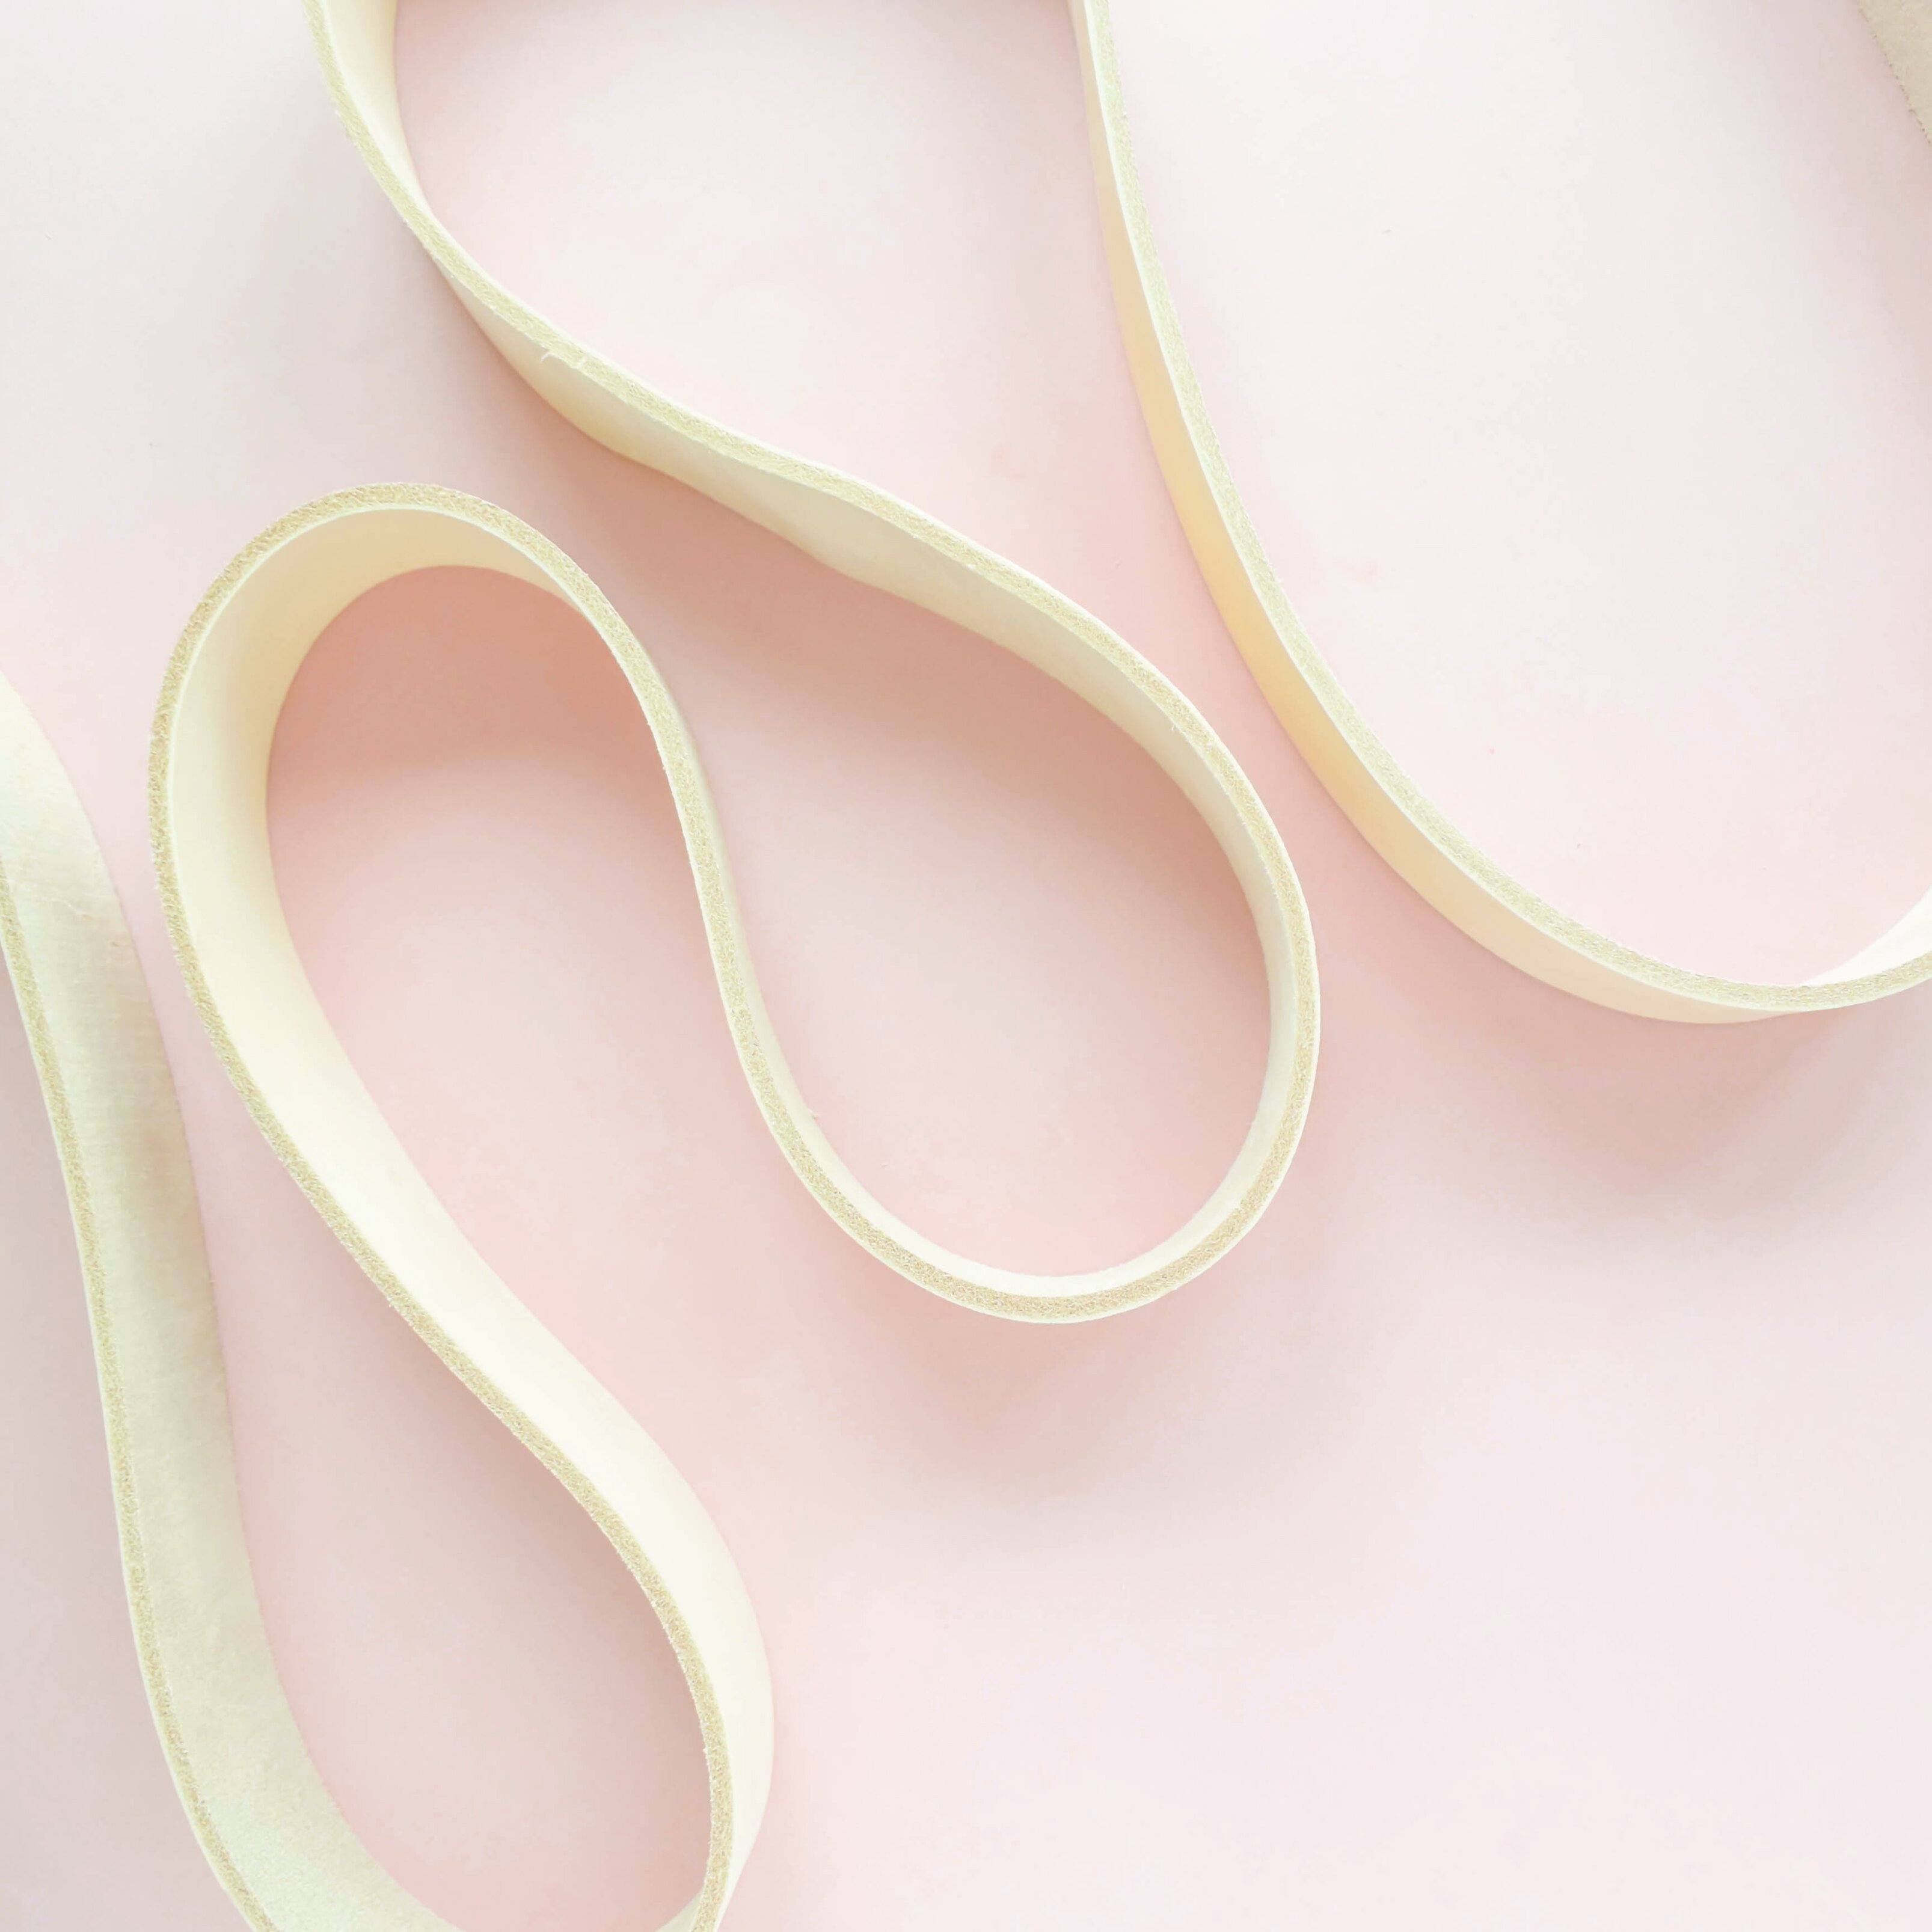
Take your leather strap and either cut in half or cut 2 pieces to your desired length (ours was 200cm x 5cm). You can do this with a ruler and scalpel knife, or scissors if you prefer. Make sure your scissors are sharp as leather is not easy to cut with blunt tools!

3

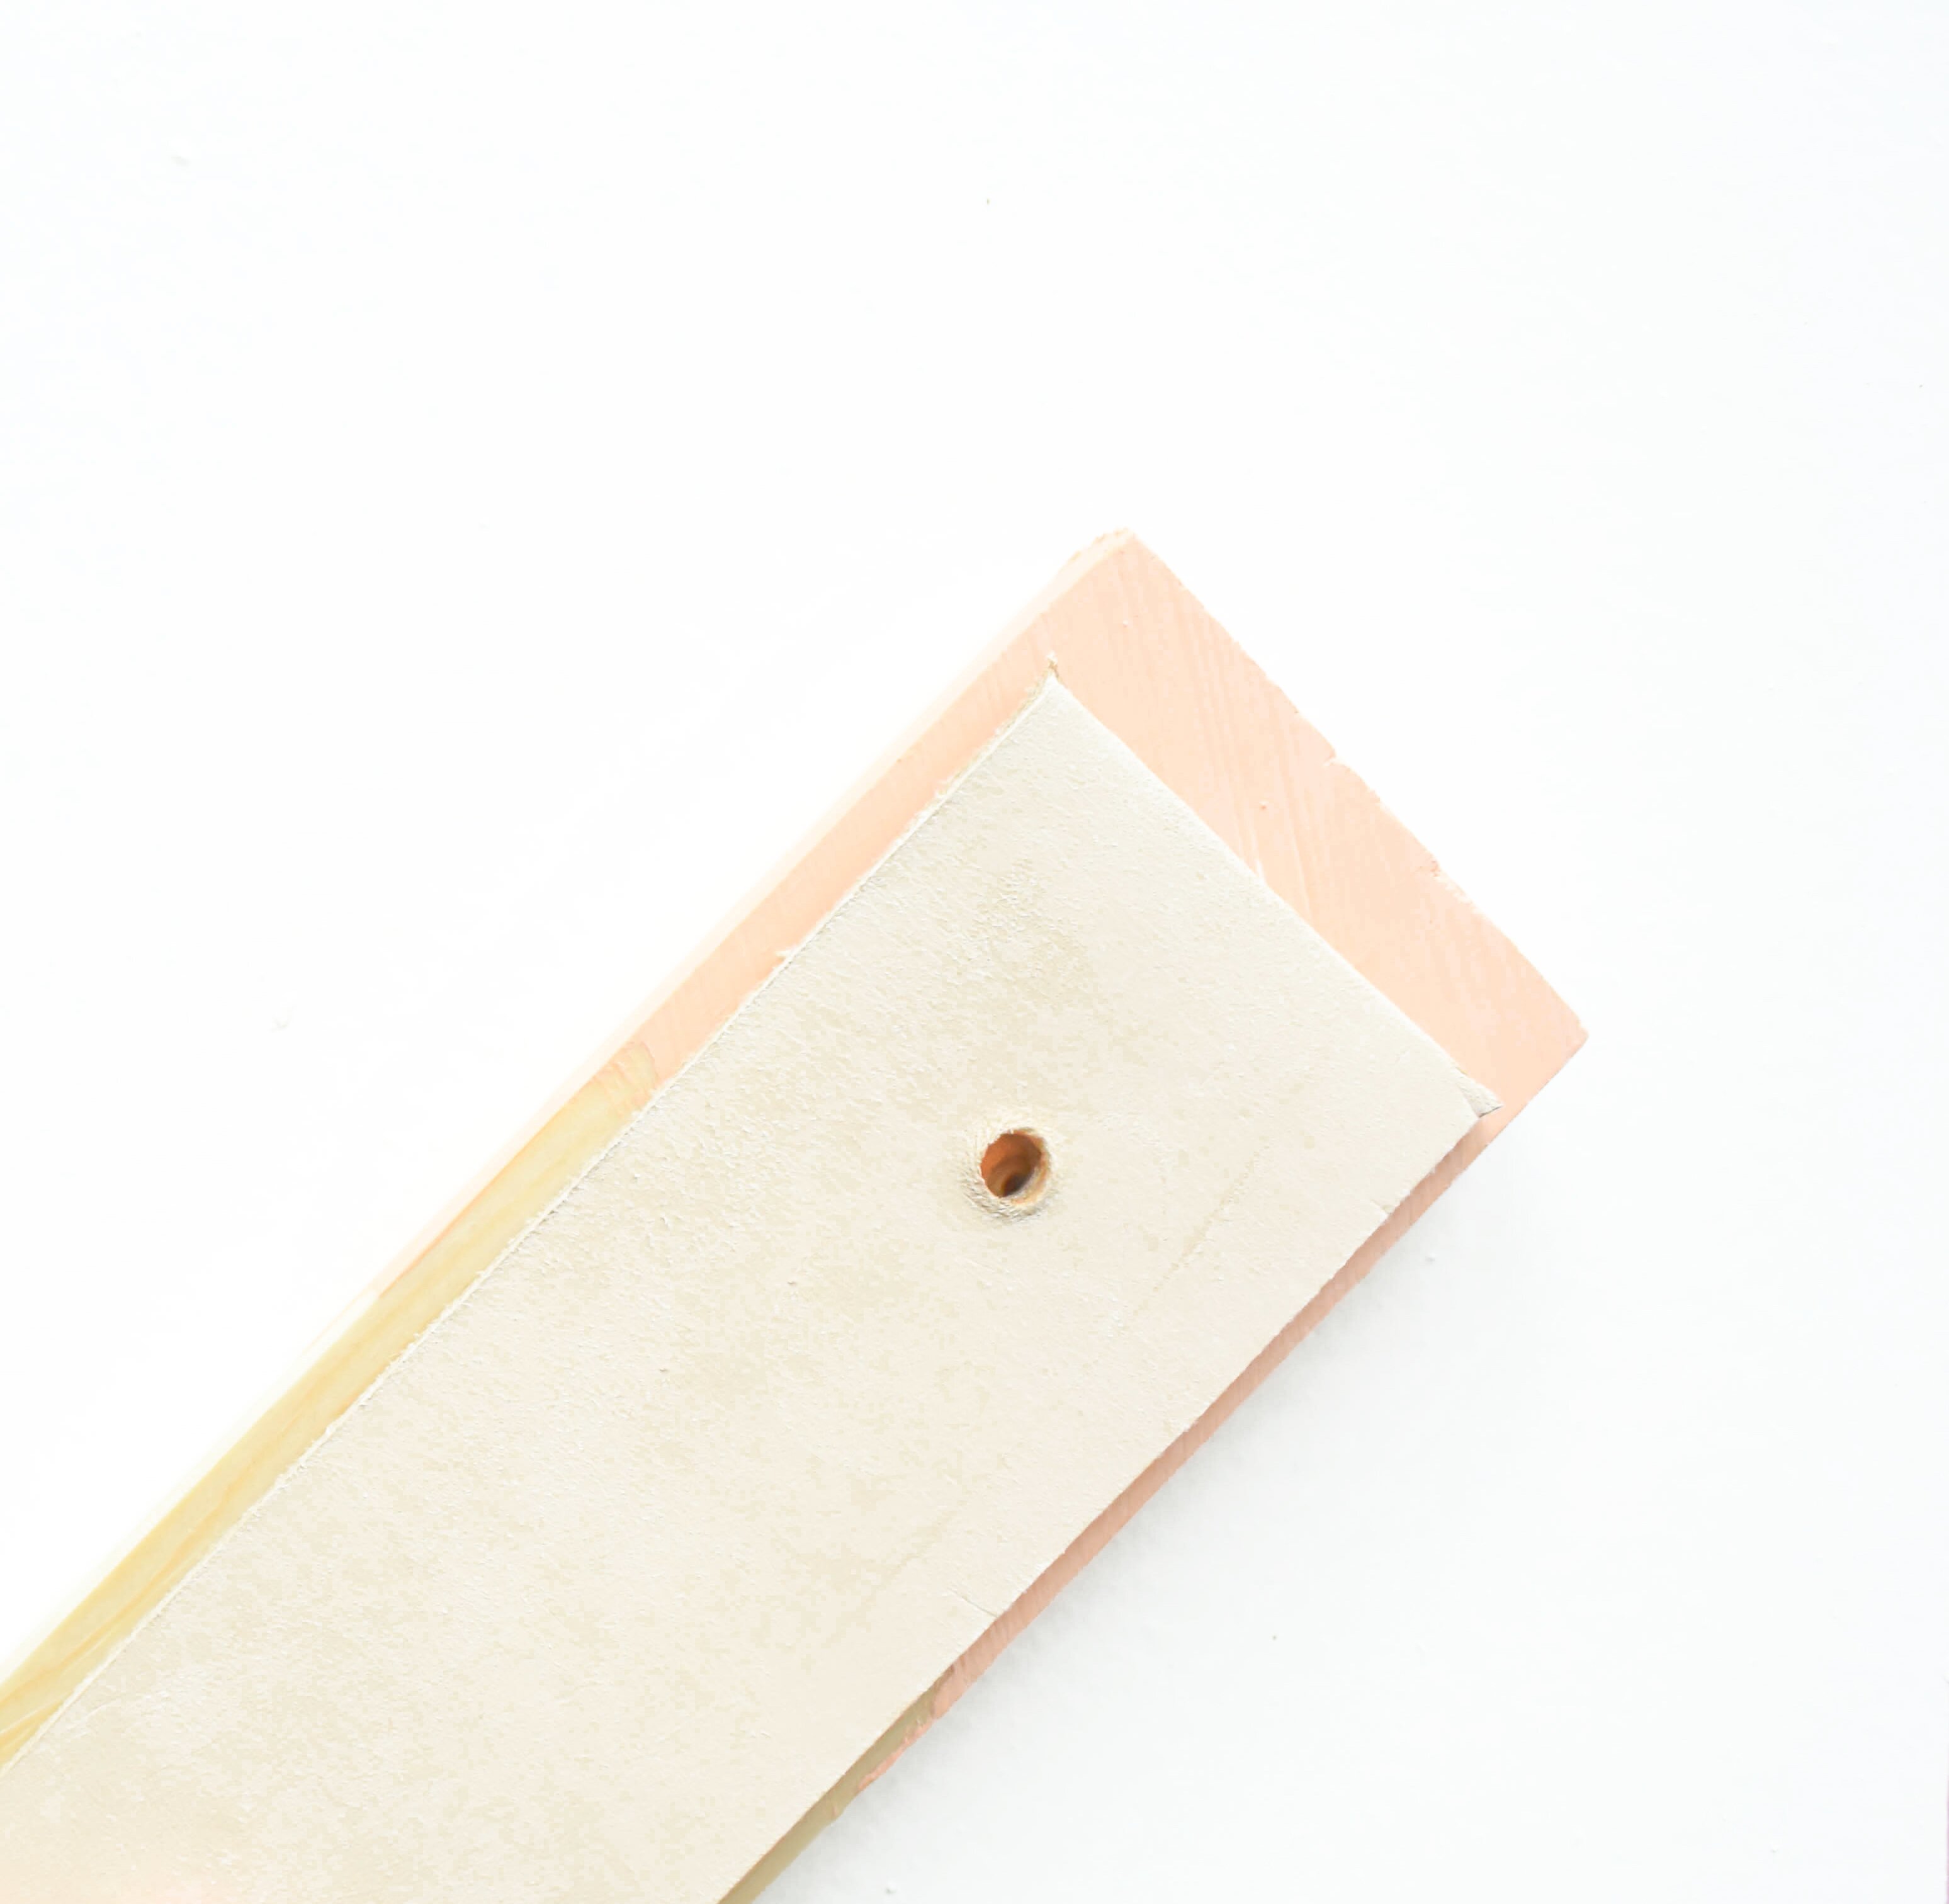
Using the drill, make a hole at each end of each strap, approximately 2cm away from the ends and centred. I used a scrap piece of wood under the leather to stop me drilling into my table.

2

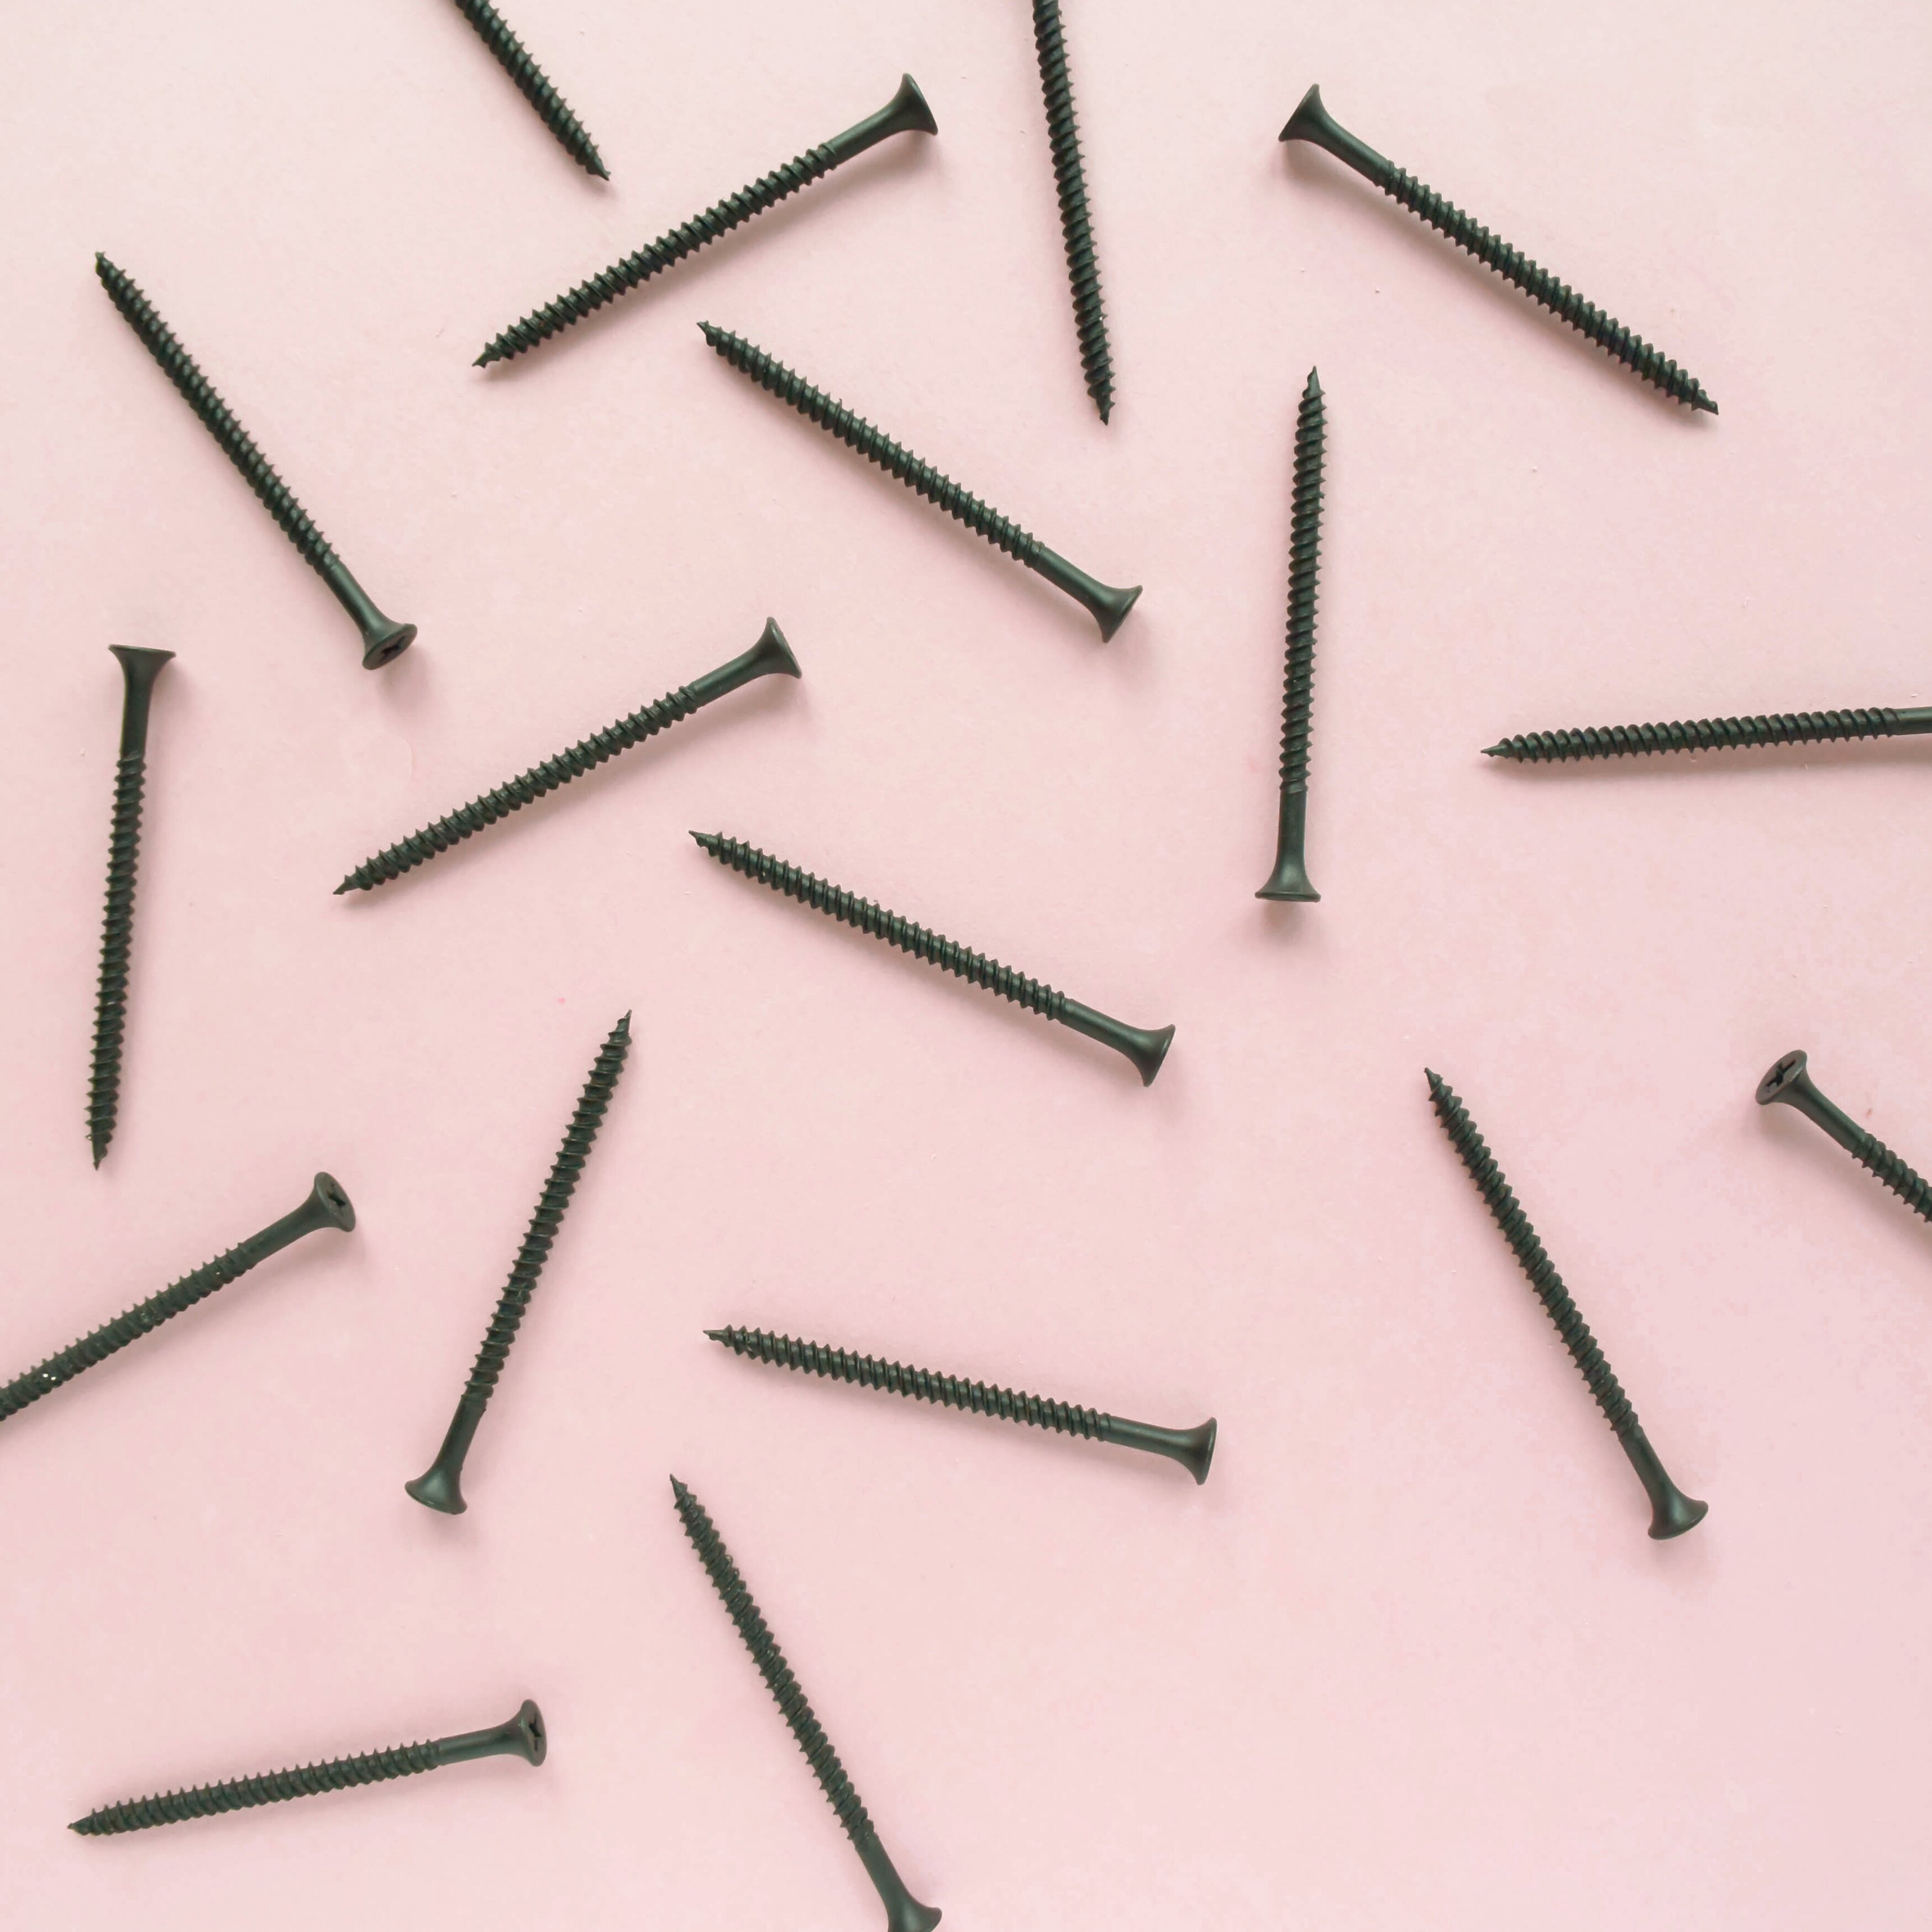
Quit screwing around! (It’s time to choose your screws). I chose black to compliment the rest of the colours in the room but I really like the way brass screws look with this paler tan leather.

4

Fold each of your straps in half and twist in your screws, lining up your holes. Using your spirit level, and hopefully a friend to help hold and keep balance, it’s time to fix the shelf to your wall. Make sure you use the correct fixings for the type of wall you have. Simply mark out your screw holes on the wall, drill, add wall plugs and screw in place.

5

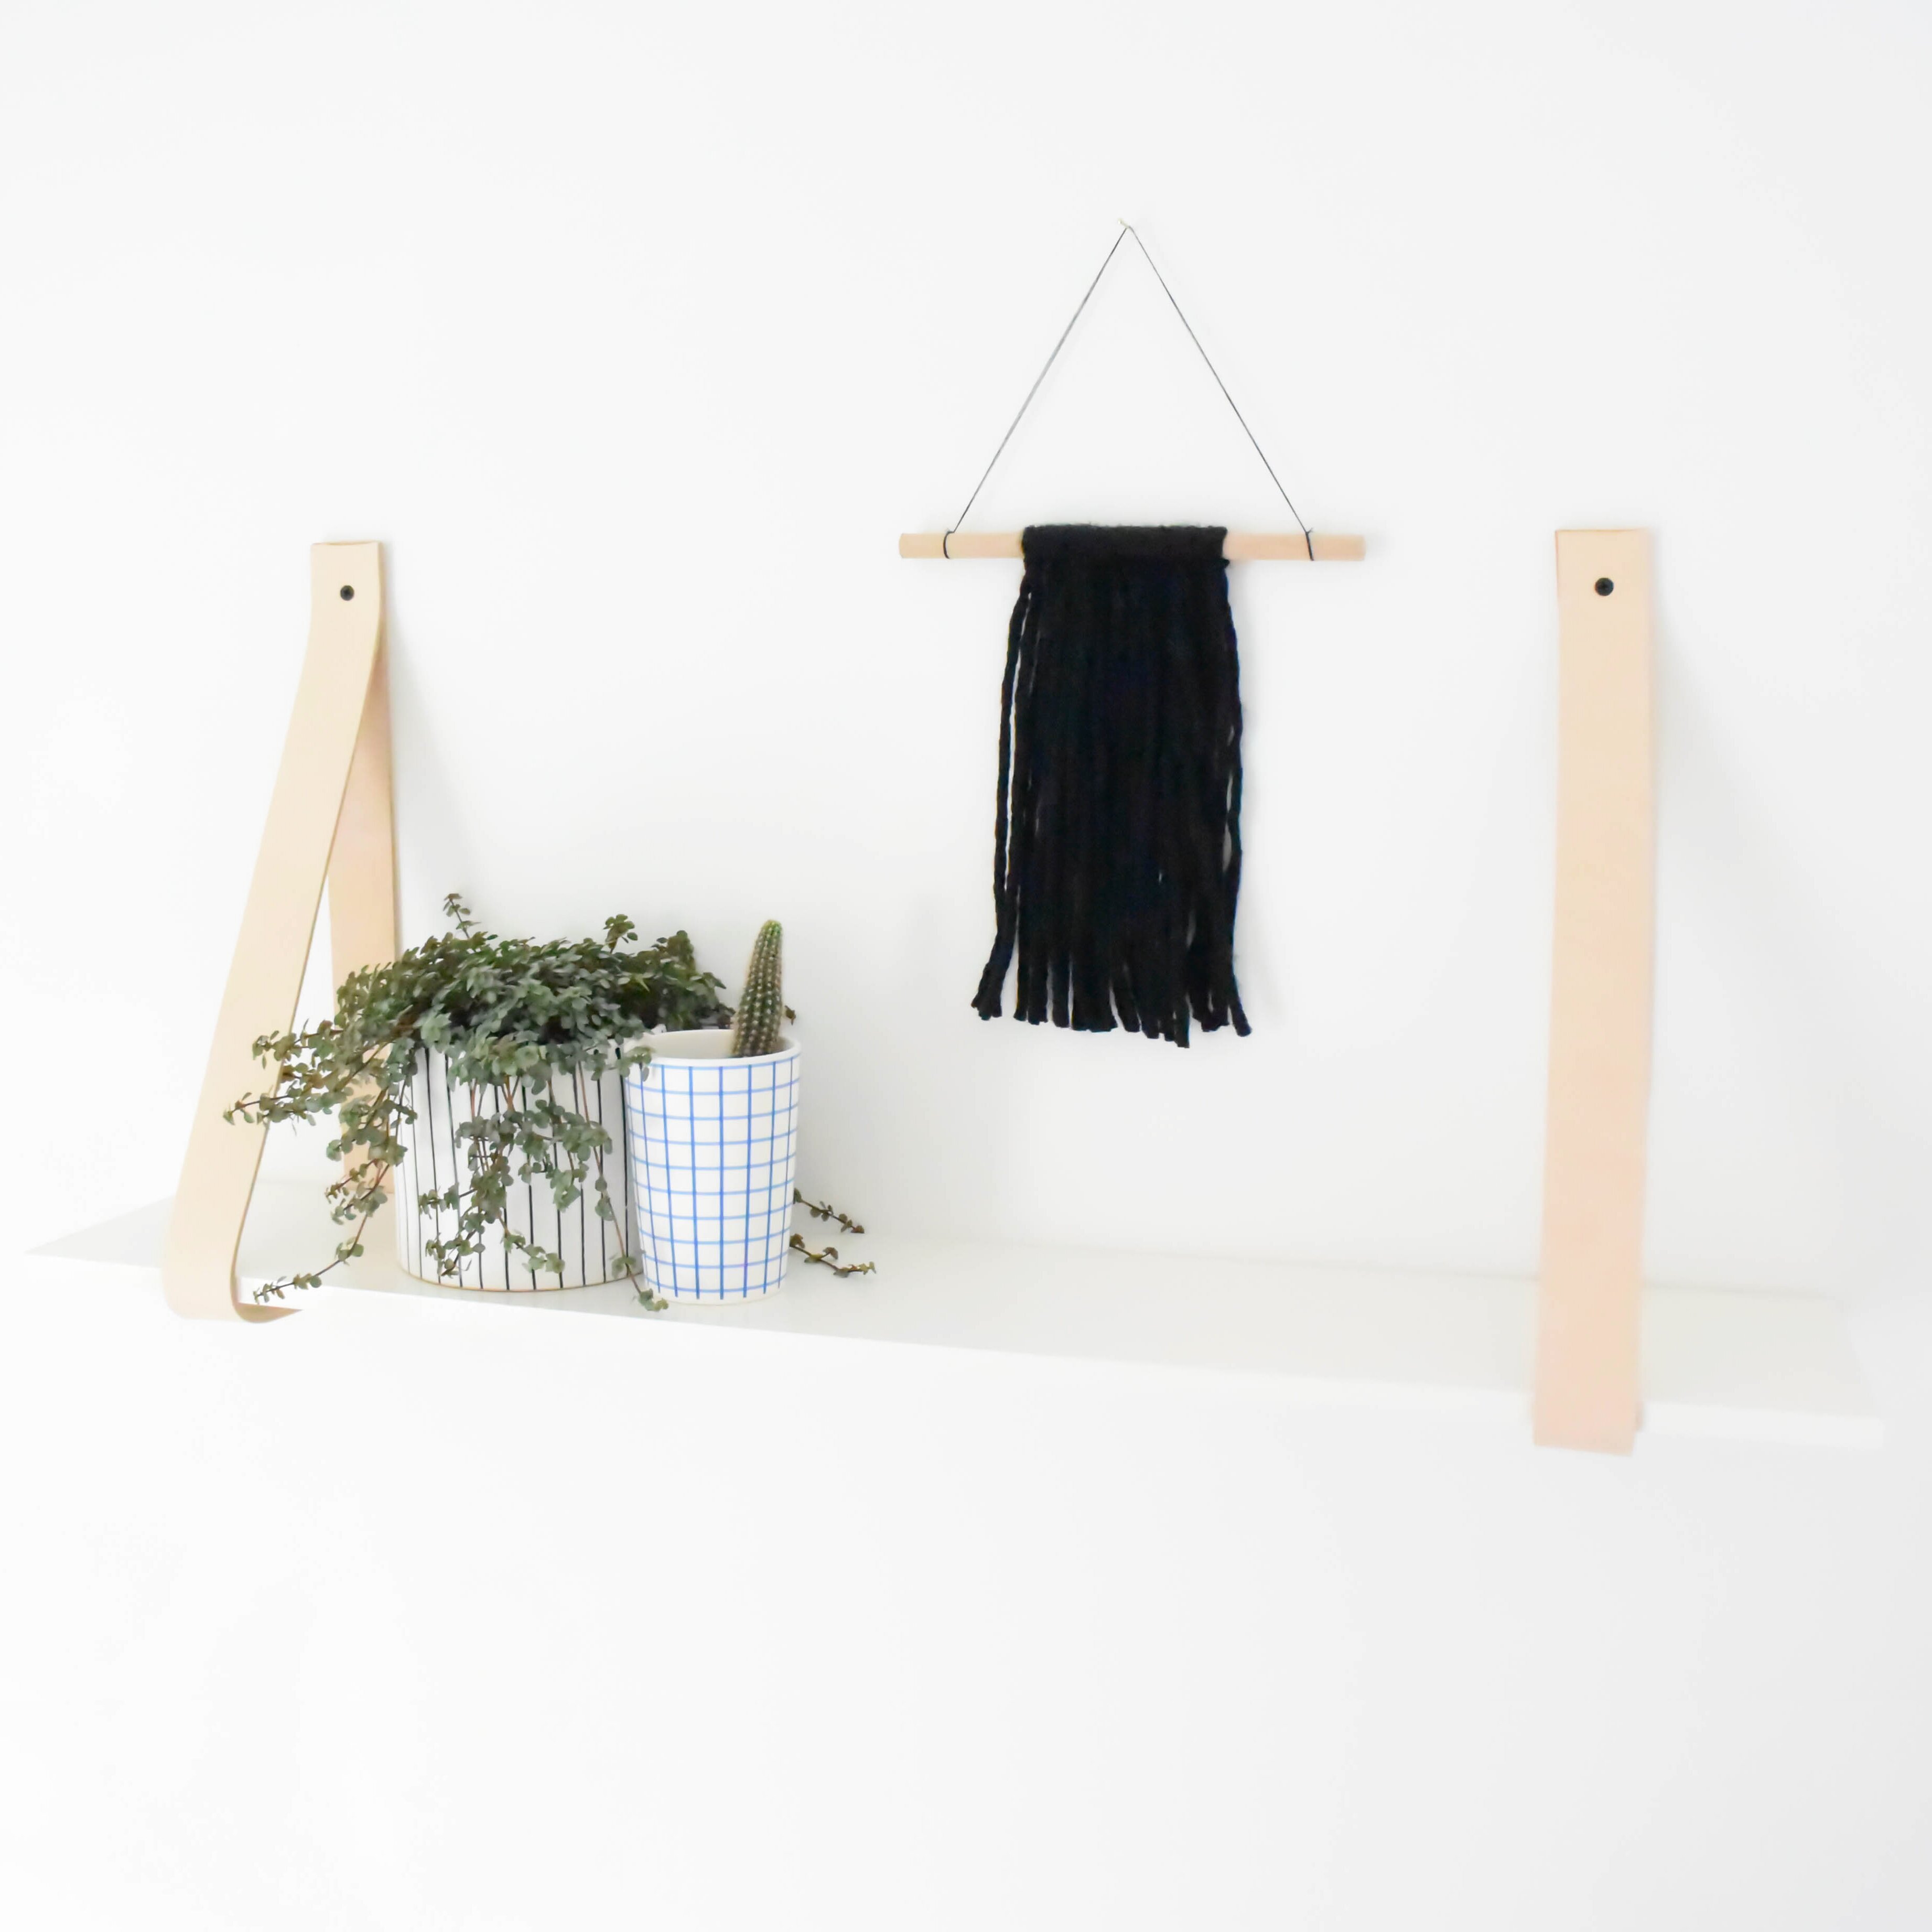
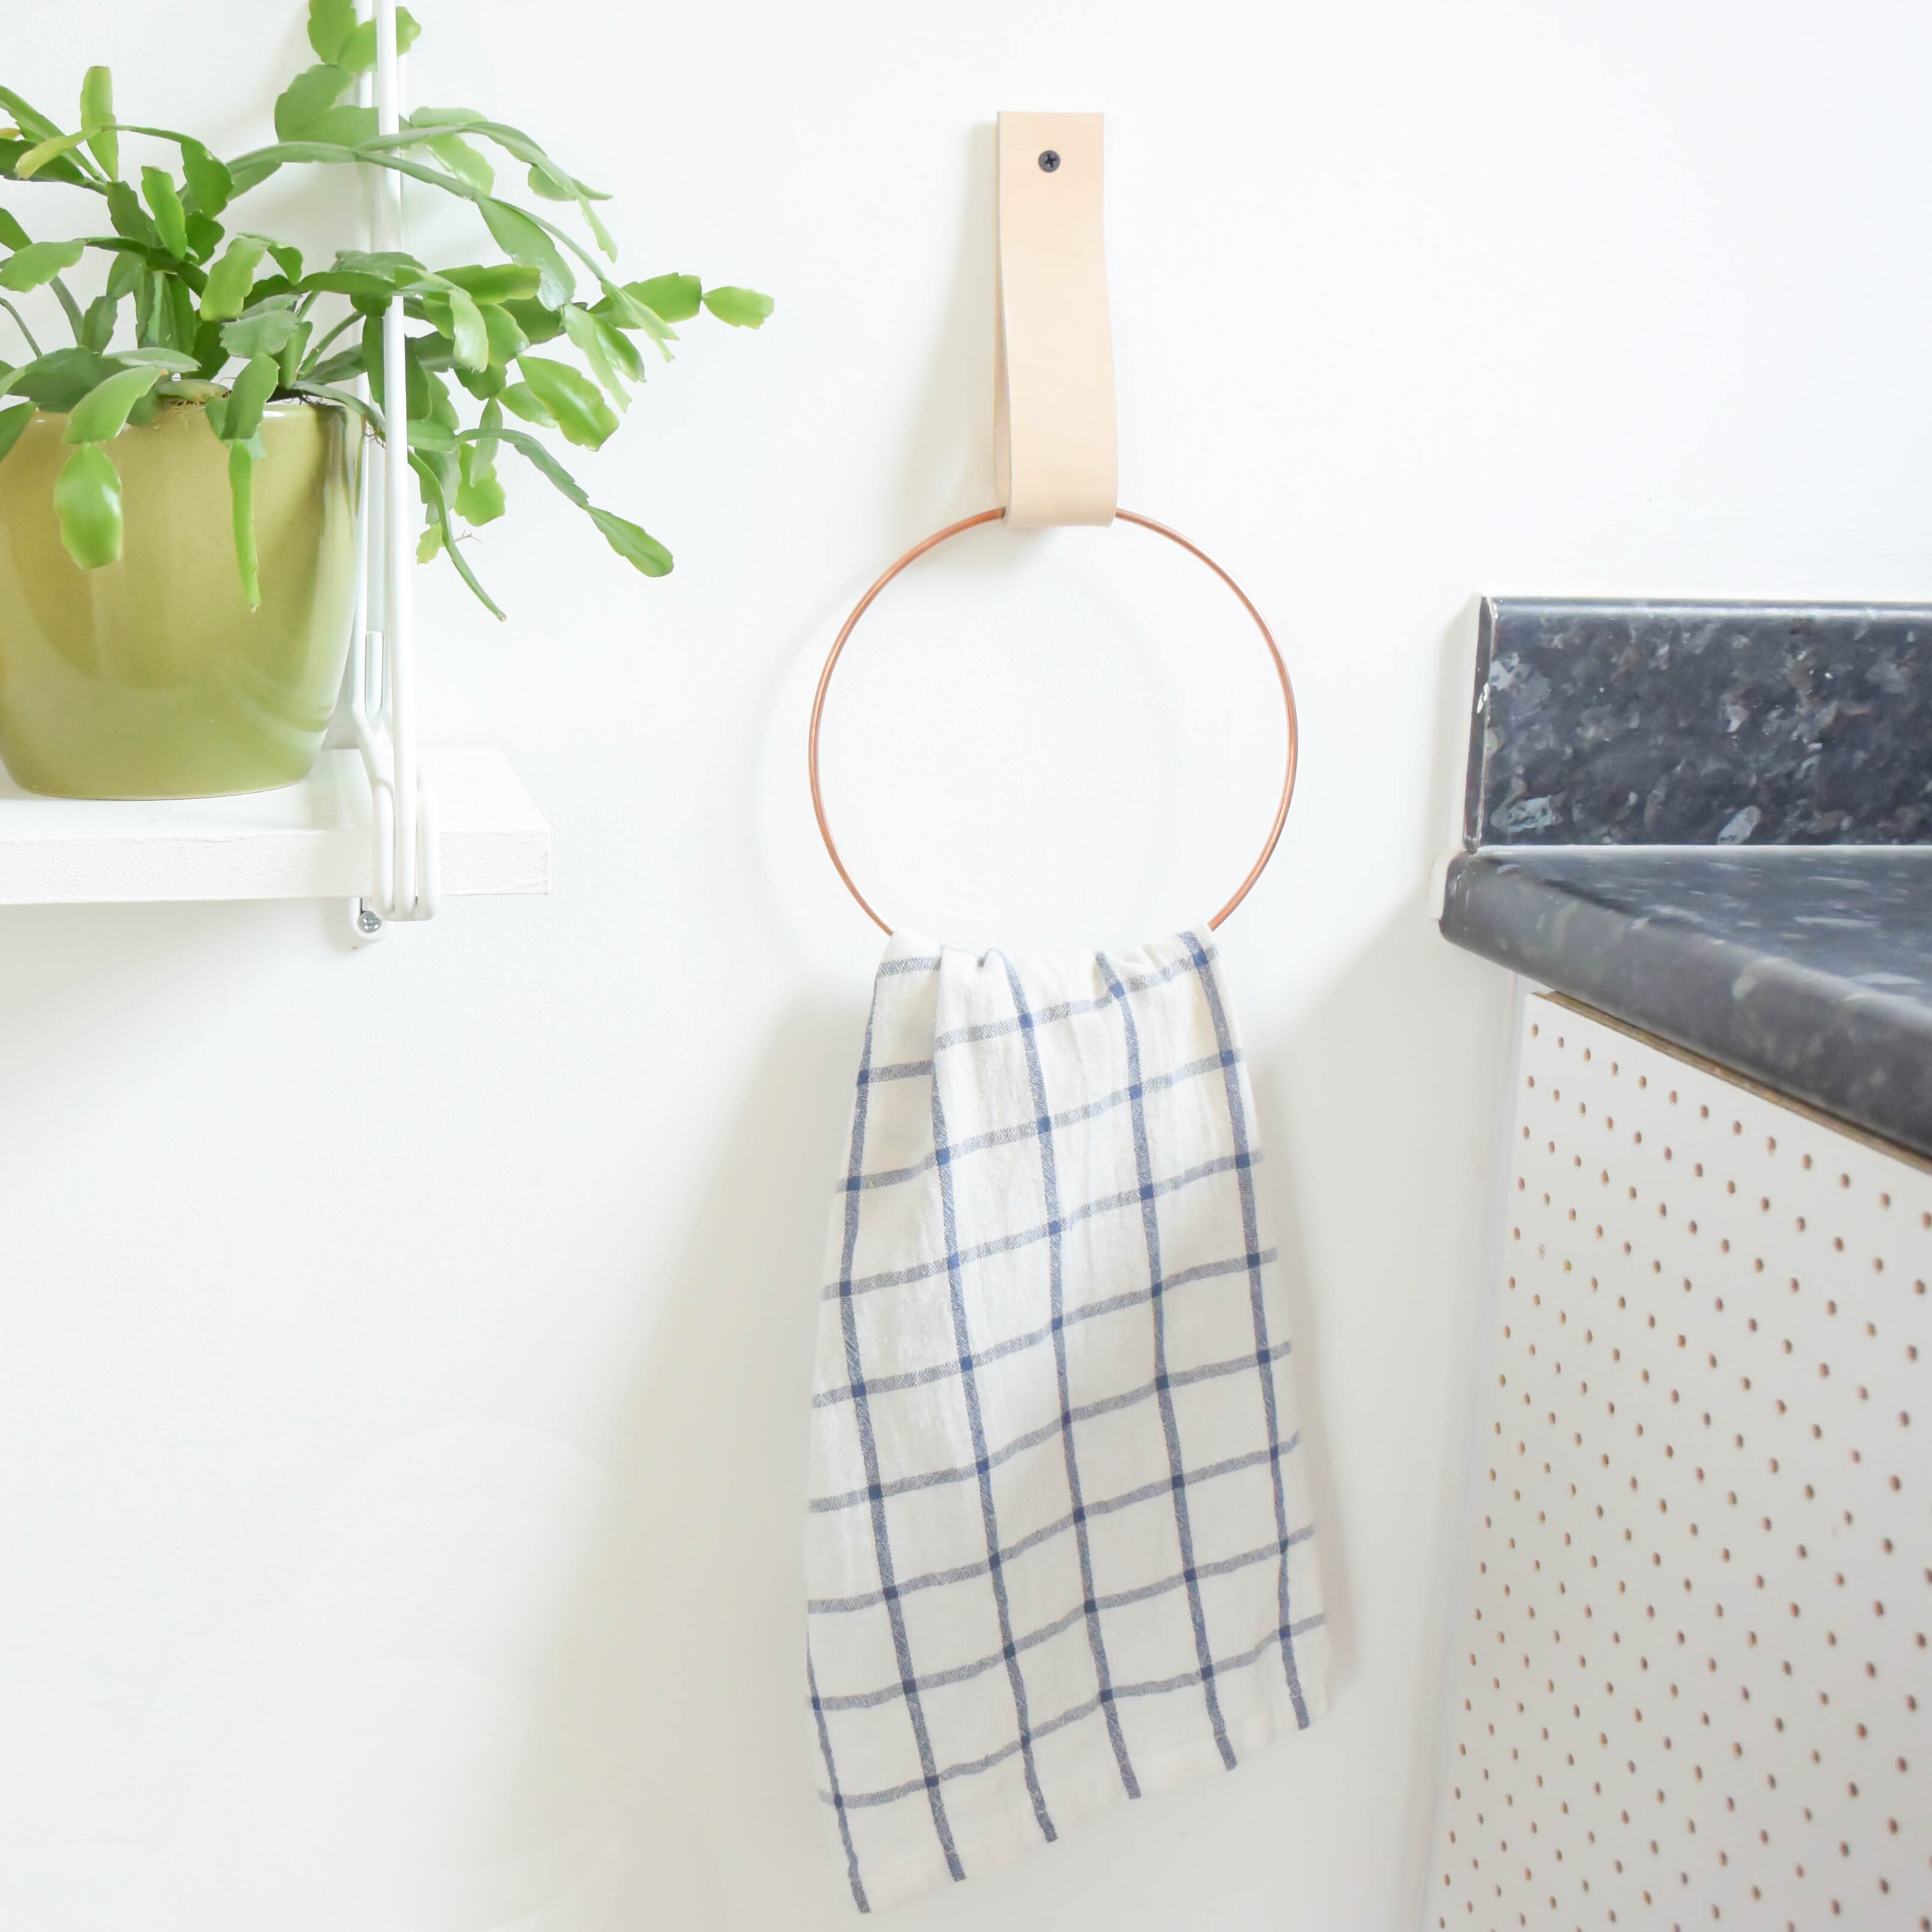
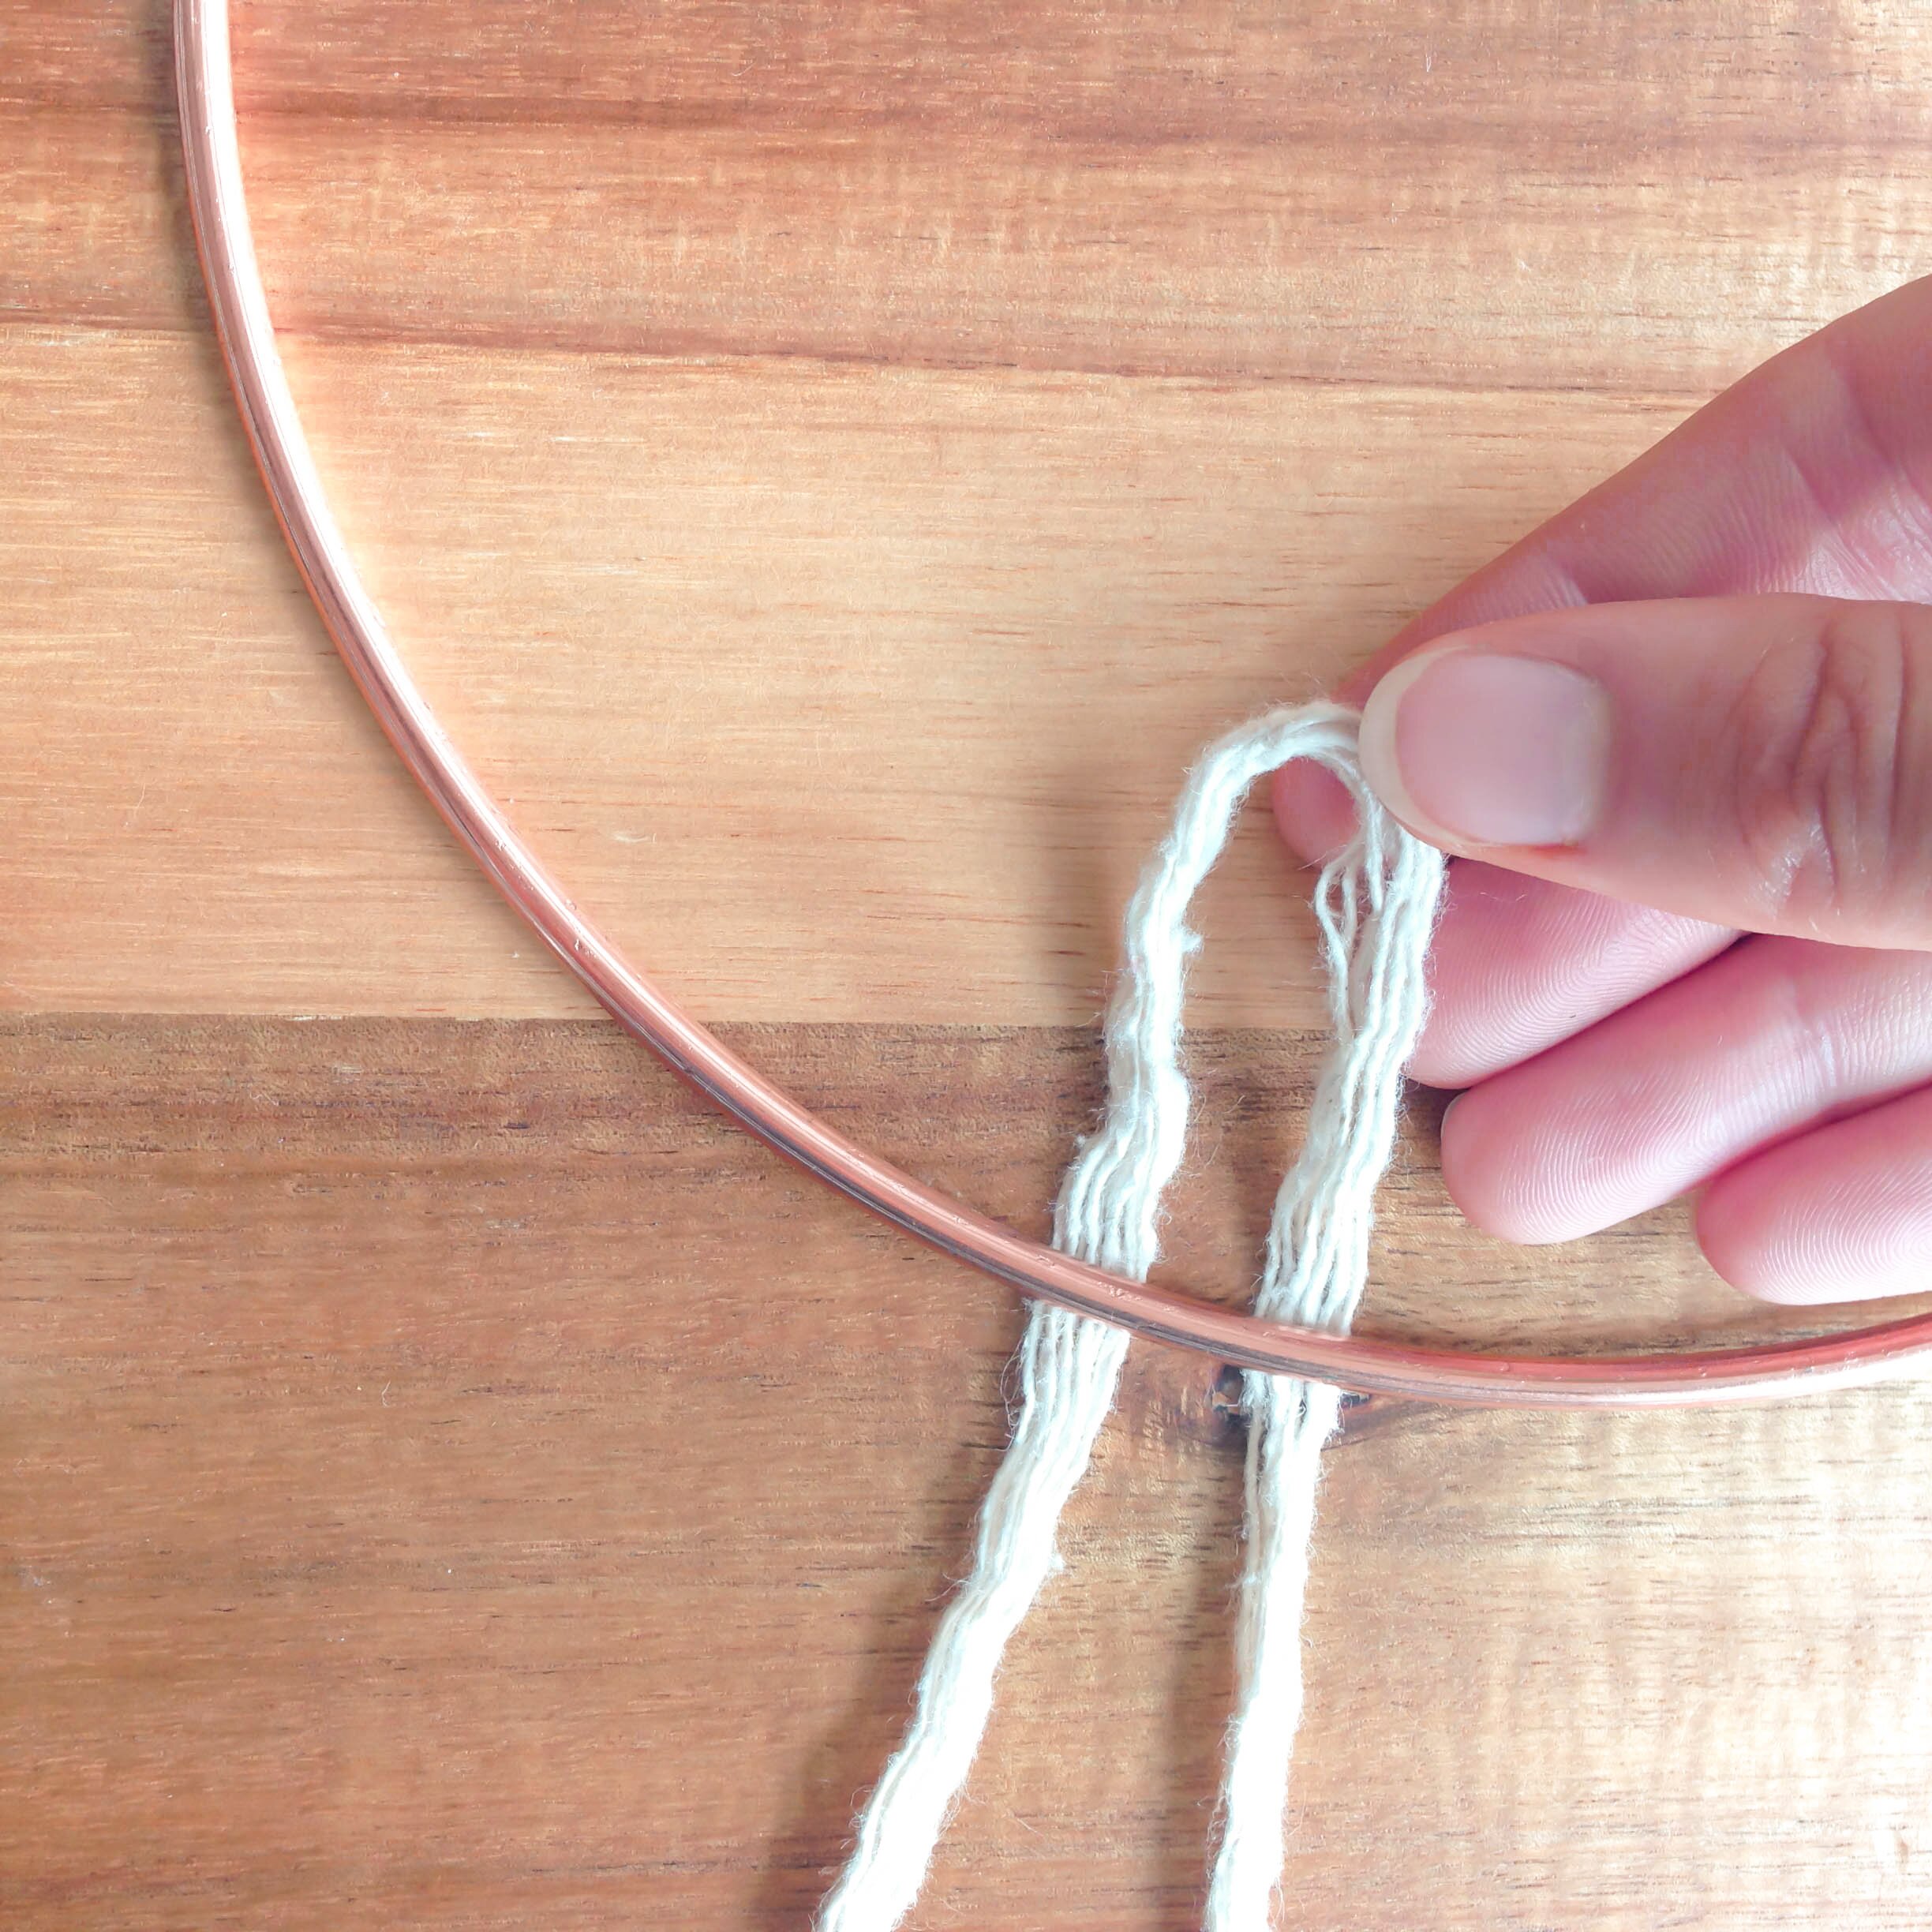
It’s a decorative shelf and we’re not planning on putting too much on it but I’d say this could hold a decent amount of weight. Don’t go sitting on it, or piling your entire book collection on it, but you get the idea. There was a spare bit of leather left over so I also made this tea towel holder for the kitchen using the same drill method as above and a copper hoop. It might just make drying the dishes a bit less tedious. Maybe.

6

playing with colour

I think I might have a new favourite colour every week. It’s so hard to choose just one. Lately, my go to colour has been peach. It’s so dreamy! Some of my styling jobs are for corporate clients and I can’t be as creative as I’d like with colours. It’s a little dull (but hey, it’s a living) so recently I’ve been having a play with colour and having a great time doing it.

photo 1

photo 4

photo 5

photo 3

photo 3

photo 1

What’s your favourite colour?

copper wall hanging

1

I came across these copper rings for making dreamcatchers on eBay while I was searching for some craft supplies. I don’t know what you think of dreamcatchers. I love them. Maybe not those ones you see down the market that have a wolf embroidered in the middle of it and a million feathers, but there are some beautiful, modern interpretations out there at the minute and I want all of them.


You will need

Copper ring(s) (I got mine here)

Yarn or wool

Scissors

Ruler or straight edge


2

Take your yarn and cut lengths of approx. 225cm. You can make your wall hanging as wide or narrow as you like. Cut 10 lengths to begin with and then see if you want to add more. I made mine pretty wide and used 40 lengths. My yarn was also very thick as I wanted a full, textured look. I’d like to try this with some very thin, silky embroidery yarn.

3

Take your hoop and a length of yarn. Fold your length in half and place the hoop on top of the loop. You can do this project with the hoop lying flat on a table but I found it easier to have it hanging up. I hooked it over the handles of my kitchen cabinet!

4

Take the other end of your folded yarn and feed it through the loop.

5

Tighten your knot and repeat.

6

Keep going, adding as many more lengths as you like. To make the wall hanging nice and thick, bunch your knots together so they’re very close around the loop, leaving no gaps.

7

When you’re finished adding lengths, smooth down your yarn and gently brush through with your fingers to make sure they’re sitting nice and straight. Using a ruler or straight edge as a guide, trim the wall hanging to your desired length. I’ve cut mine in a slightly pointed shape but a straight edge looks great too!

I’ve added a smaller hoop into my display by simply hanging it on the same nail as the wall hanging. Have fun! It’s a really simple project and if you try it, let me know how you get on. I’d love to see your results!

8


blog hop

Last Monday I was nominated by the lovely Mel Wiggins to take part in a blog hop. Bloggers get to tell people a bit about themselves and then recommend some of their favourite bloggers to their readers, nominate them to take part and the hop continues. Wheeee!


1. What have been the doings/makings/scribblings at your desk this week?

This week I’ve got some projects to work on for clients. One of which is a Christmas shoot. It’s July. It’s 25 degrees outside and I’m not in the mood! It is fun though to gather festive props and we have a beautiful location house to style for the shoot. I always love being in and snooping around other people’s homes (not in a creepy way). As well as that, I have a couple of DIYs to get up here on the blog and still have a list of things to complete in the flat. Most rooms are now finished but there are a lot of annoying little jobs that need to be completed before it’s really finished. I’ll also be making my daily trips to the post office every day this week to post print orders from the online shop. Getting up the massive hill to the post office really is a struggle as I seem to have the heaviest bike in the world. Whizzing back down the hill really is the best.

photo(31)

2. Where are you currently finding your inspiration? (Influences, heroes, sources of inspiration, paths exploring)?

I’m always on when I have spare time and when I’m needing a little inspiration boost. My board is my favourite thing to look at. It’s great when I’m looking for colour ideas for new print designs or for colour schemes for shoots and my home. I don’t read nearly as many magazines as I’d like to. One of my favourites is Apartamento.

“For too many people, being happy at home is pretty much an abstract idea, something they can’t know or imagine, until it appears on some taste maker’s must-have list, or in a magazine, or reposted on Tumblr. A home sweet home is not curated or produced by acquiring a perfect arrangement of chairs, lamps and friends. A real living space is made from living, not decorating. A bored materialist can’t understand that a house has to become a home. It happens, not through perfection but by participation.”

Being a stylist, you might think this magazine goes against everything I stand for, but it really is a great publication with some really  inspiring interviews.

358af1d5c23cff589cbec5c0d8e3fce9

photo from Pinterest

3. How important is being creative to you, and how do you blend this with your work / life / family balance?

Being creative is my job so it’s kind of all I do and all I am, all the time. I design and make things to sell in my shop and I design and style products for clients. I also feel very strongly about making my home a beautiful place for us to be so I’m always making and DIYing for the flat as well. My boyfriend John is a furniture maker and visual stylist so when there’s something creative to do in the flat we can often do it together which is nice, even if there are a few disagreements over how it looks / where it’s to be placed in the flat!

I do switch off (I LOVE going on holidays!), but I can’t just sit around doing nothing or just lie in front of the tv (we don’t have a tv for a start). If I don’t have something to do I get very antsy and need to start a new project or make something. Even if it’s as simple as making my next Instagram post a bit more stylish or rearranging my plants, I need to keep creatively active. It’s probably a good trait to have being self employed!

photo(33)

And here are my blog recommendations. Pop over and say hello to these ladies…


Carrie Maclennan (notthekindofgirlyoudmarry)

Carrie is my buddy and we used to run a shop and organise events together in Glasgow. She’s a writer and has a cool cat named Bruce. Take a look to see what she’s been up to!

Rachel Basinger (ohnorachio)

Rachel is a designer and illustrator and her blog is full of some beautiful photos and great stories, projects and recipes.

« Older posts Newer posts »

© 2015 Full Time Fiesta