When you come over to our house (unannounced and I’ve not had time to clean and hide all our crap in a cupboard) you’ll probably find a collection of various beer and cider bottles and cans waiting patiently to be recycled. Rather than give them to the bin man to do my dirty work for me, I thought I’d recycle my cans in a different way. These vases are so easy to make and look great dotted around the house.
You will need
cans
spray paint
covering for your work surface / a well ventilated area
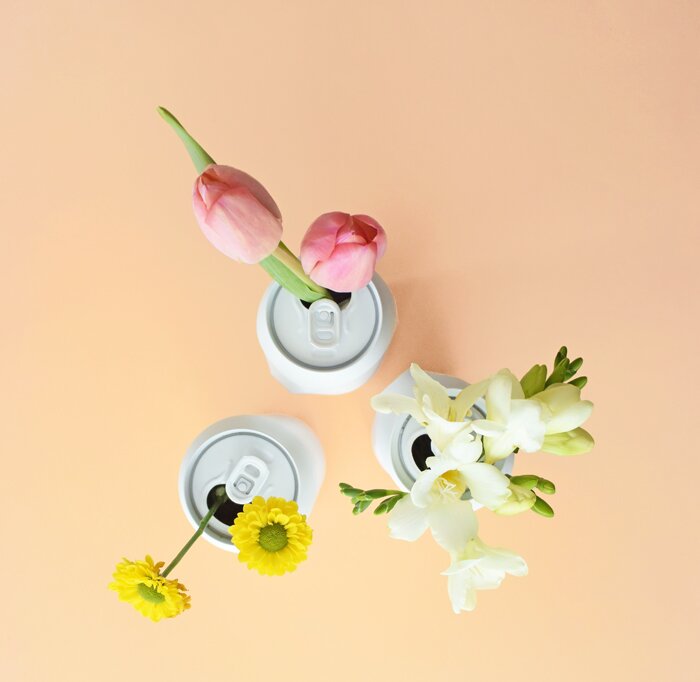
I’m not sure if flowers can get drunk or not but you should make sure your cans are clean and beer-free, just in case. Next, outside or in a well ventilated area, spray your cans evenly. Allow to dry and repeat if necessary so you get a nice, even colour. You can paint the cans as they are or give them a little squeeze to create nice angles and a crushed look.
Once dry, fill your vases with water and add your flowers. Easy! You get to drink beer and then look at pretty flowers afterwards.
Valentine’s day is kind of a scam, huh? Spending all that money on cards, flowers, chocolates, and fancy dinners to show someone that you care about them. You can show them you care for free, and not just on one day a year. I’ve always liked the idea of making gifts to exchange on Valentine’s day, and any other day really! I love receiving plants as a gift (obviously) and the idea that you’ll have that plant for years to come and it’ll always remind you of the person that gave it to you. Of course, if that wilting, dried up fern in the corner is constantly reminding you of your a-hole ex, you have my permission to throw that plant out the window. This is a really simple DIY to make a lovey dovey plant pot to house a special plant, cactus or herb for your sweetheart. Or, make one just for yourself!
You will need
plant pot (mine are terracotta pots from IKEA)
paint (I’ve used red and white matt emulsion tester pots from Valspar)
sticky back plastic / removeable vinyl (I sourced mine from eBay)
paintbrush
pencil
craft knife / scissors
heart shape template
First, cut out or use an existing heart shape to make your template. I made mine by folding some card in half and cutting out a heart shape but you can draw around an existing heart you have or trace one. Next, draw around your heart template onto your removable vinyl. Make sure you cut your piece of vinyl so it’s big enough to fit the heart and that there’s around 1-2cm space around it. This means you’ll have plenty of room to paint. Using a sharp craft knife, cut out the heart.
Now, stick the vinyl onto your plant pot. I chose vinyl because it gives a really clean painted edge but you can also use masking tape instead if you want.
Now it’s time to paint! The matt paint works really well with the terracotta but if you’re using a gloss ceramic pot or other you might want to use paints that are specific to your chosen surface to make sure it wears well. Once dry, you can remove the vinyl giving you a (hopefully) perfect heart shape.
You can also try an inverted version of this by using the heart shape that you cut out as the template and paint around it.
Now it’s time to pop some nice greenery into your pot and give to your special someone.
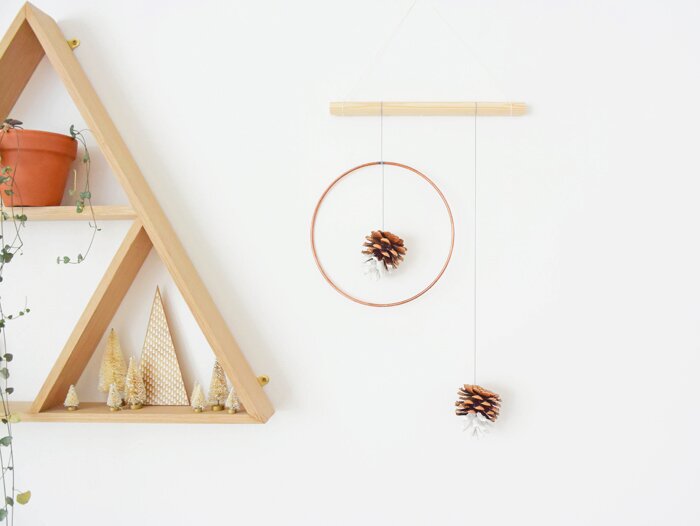
I love Christmas, but I don’t always love the traditional red and green colour combo. Nor do I always love the endless glitter and foil the high street is trying to get us to fill our homes with every year. This year, I decided to make a minimal, wintry wallhanging to decorate our living space.
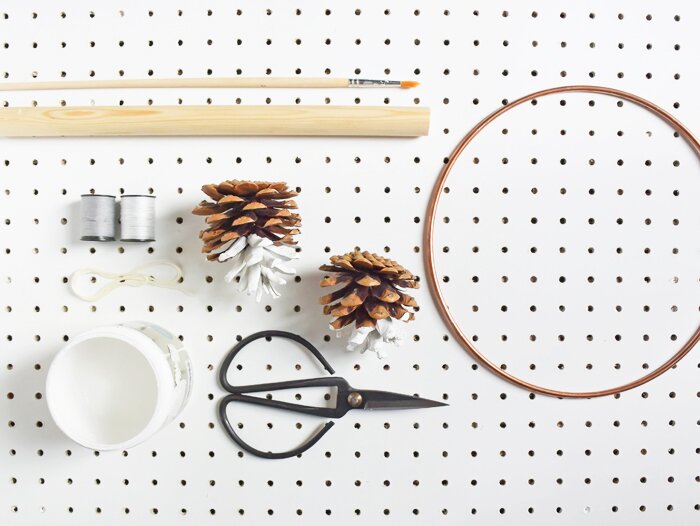
You will need
wooden dowel (mine is 27cm long and 2.5cm thickness)
thread (sewing thread and thicker embroidery thread or wool/string if you prefer)
scissors
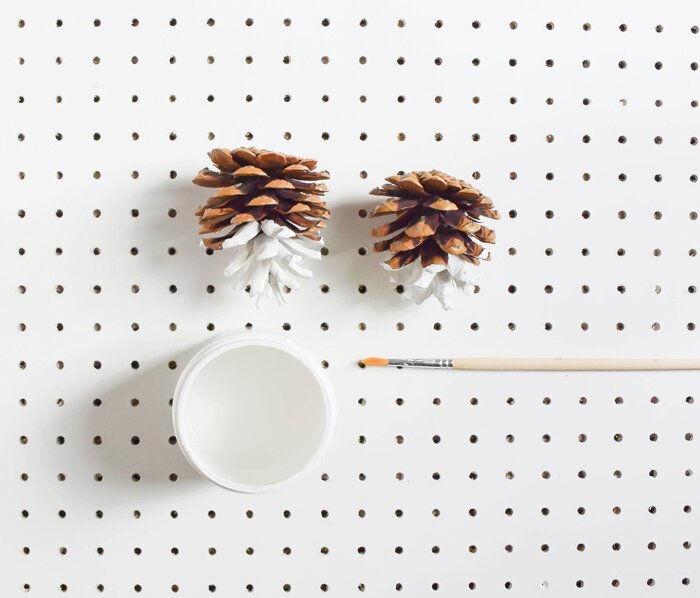
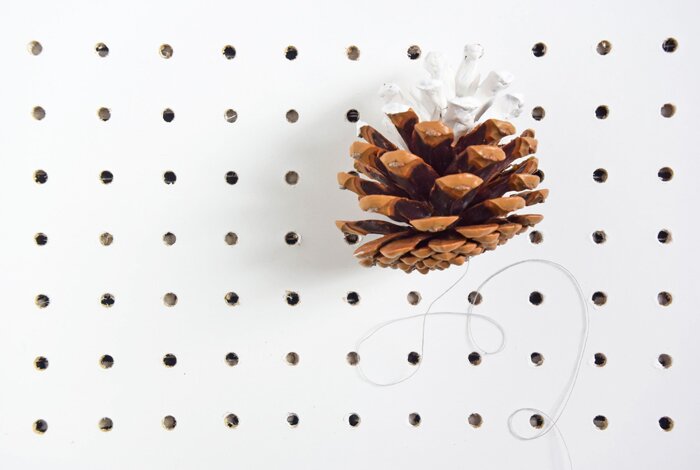
Firstly, paint your pinecones. I’ve used 2 for my wallhanging and gave them a dipped look by painting the top third of each cone white. You can actually dip them in the paint of course but this is a little more messy and will take longer to dry.
When the cones are dry, take your chosen thread and attach an end to the bottom of each pine cone. Depending on what kind of cones you’re using, this may be really easy or really tricky! I hooked my thread around a few of the scales and tied several knots to secure.
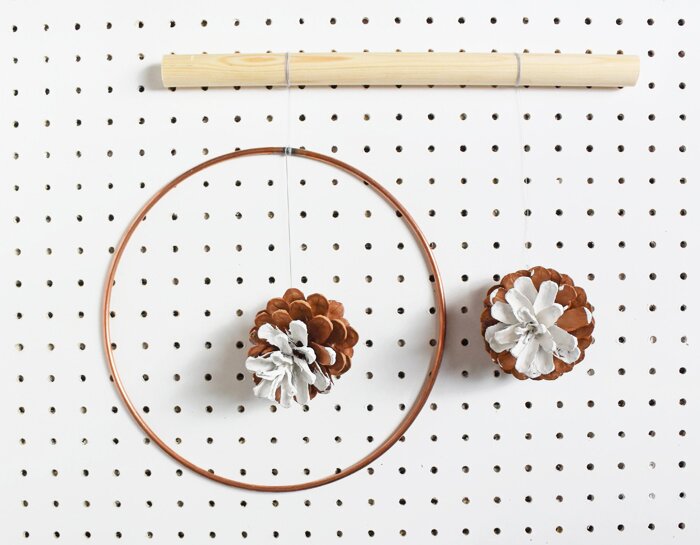
Next, it’s time to tie your copper hoop to the wooden dowel. I secured my hoop a little off centre to make room for the other pine cone but try playing around with your placement to find something that you like and that suits the type and size of the cones. Simply knot and wrap your thread around each piece to secure. I’d recommend using a fairly strong, quality thread so it doesn’t break when a little weight is applied.
Now it’s time to attach your pine cones. Again, just wrap and knot your thread to the dowel and/or hoop to secure in place. You might find it easier to do this while the structure is hanging up. If so, secure your thicker, embroidery thread/string to the dowel, around 2cm from each end and hang before attaching the cones.
It would be fun to play around with different hanging shapes and different colours for the pine cones. I’m really happy with how this turned out and can’t wait to hang this up in our space every Winter.
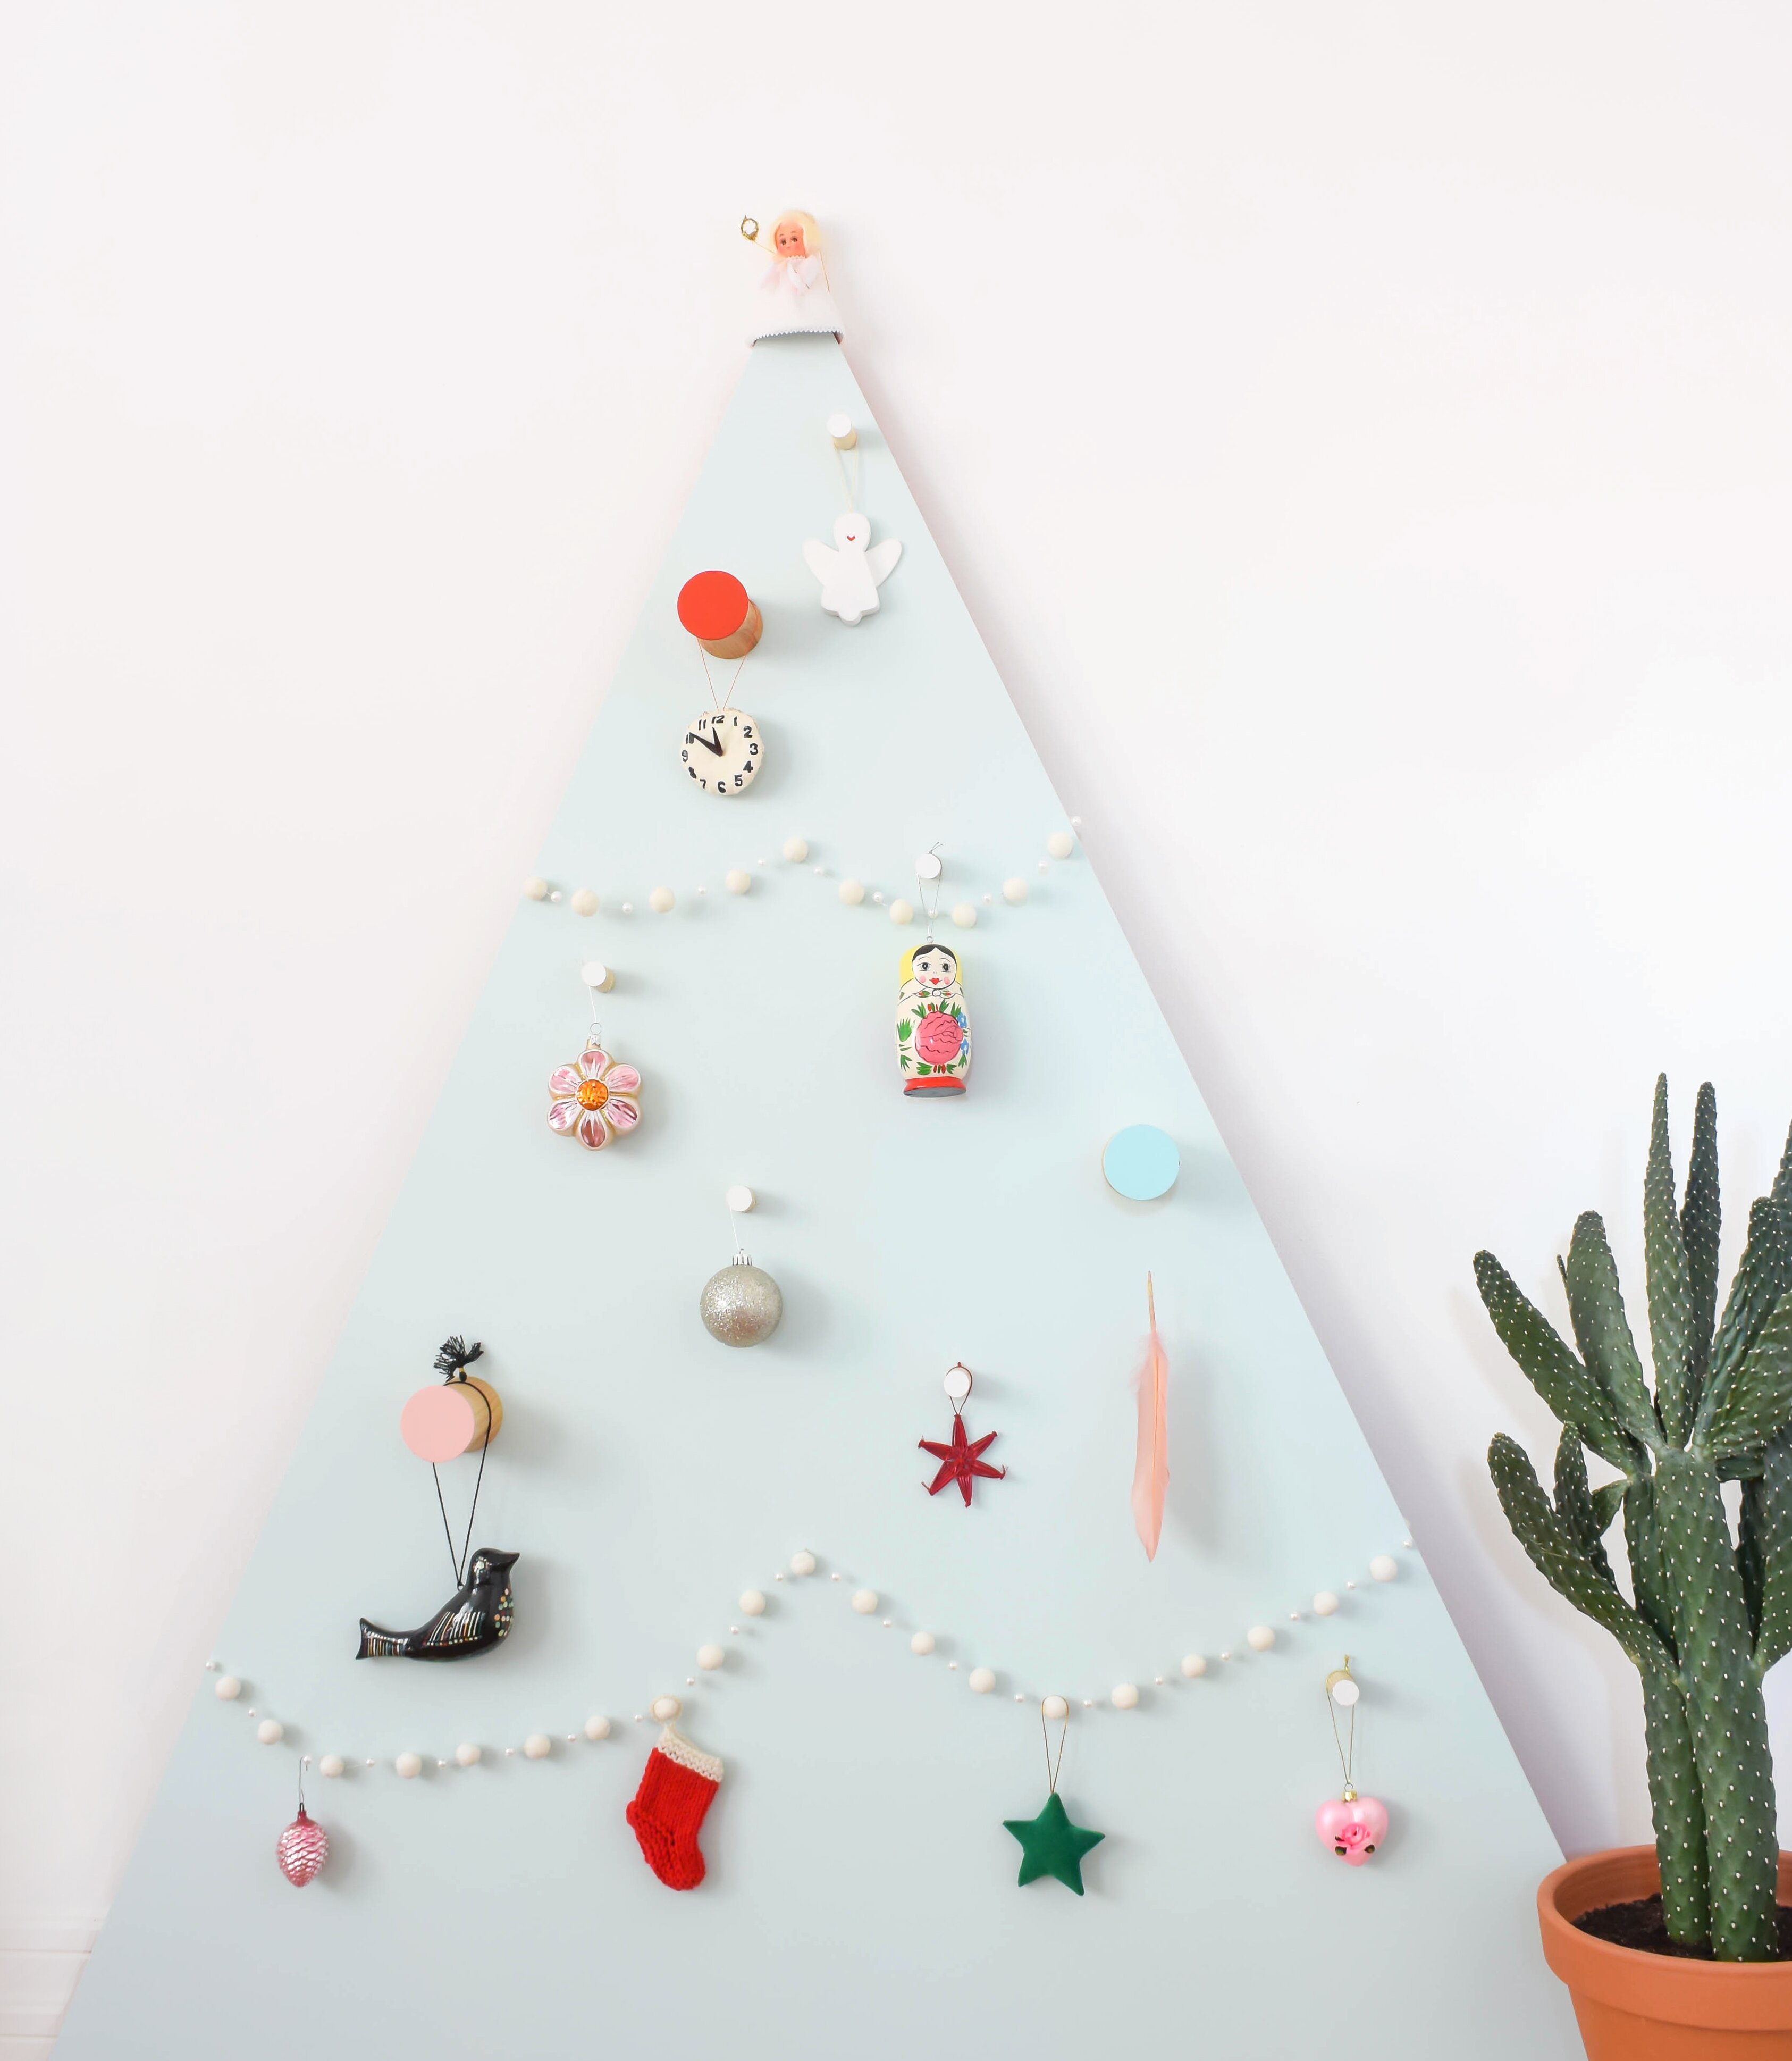
We put our Christmas tree up over the weekend. I couldn’t have a tree last year because I lived in a tiny studio so I was glad to be reunited with all my decorations this year. I’ve been thinking a lot about alternatives to a traditional Christmas tree. I’ve always loved the sparse look of and how great a small collection of decorations look displayed this way.
I made this Christmas tree alternative using some 6mm MDF, leftover paint, wooden hooks and my favourite decorations. The wooden triangle measures 120cm wide x 140cm high. Most timber yards/DIY stores can cut this for you but if you want to downsize the tree you can create the same look with cutting the same shape out of mount board / cardboard.