Author: fulltimefiesta (page 3 of 9)

A Plant Pot For Your Valentine

6

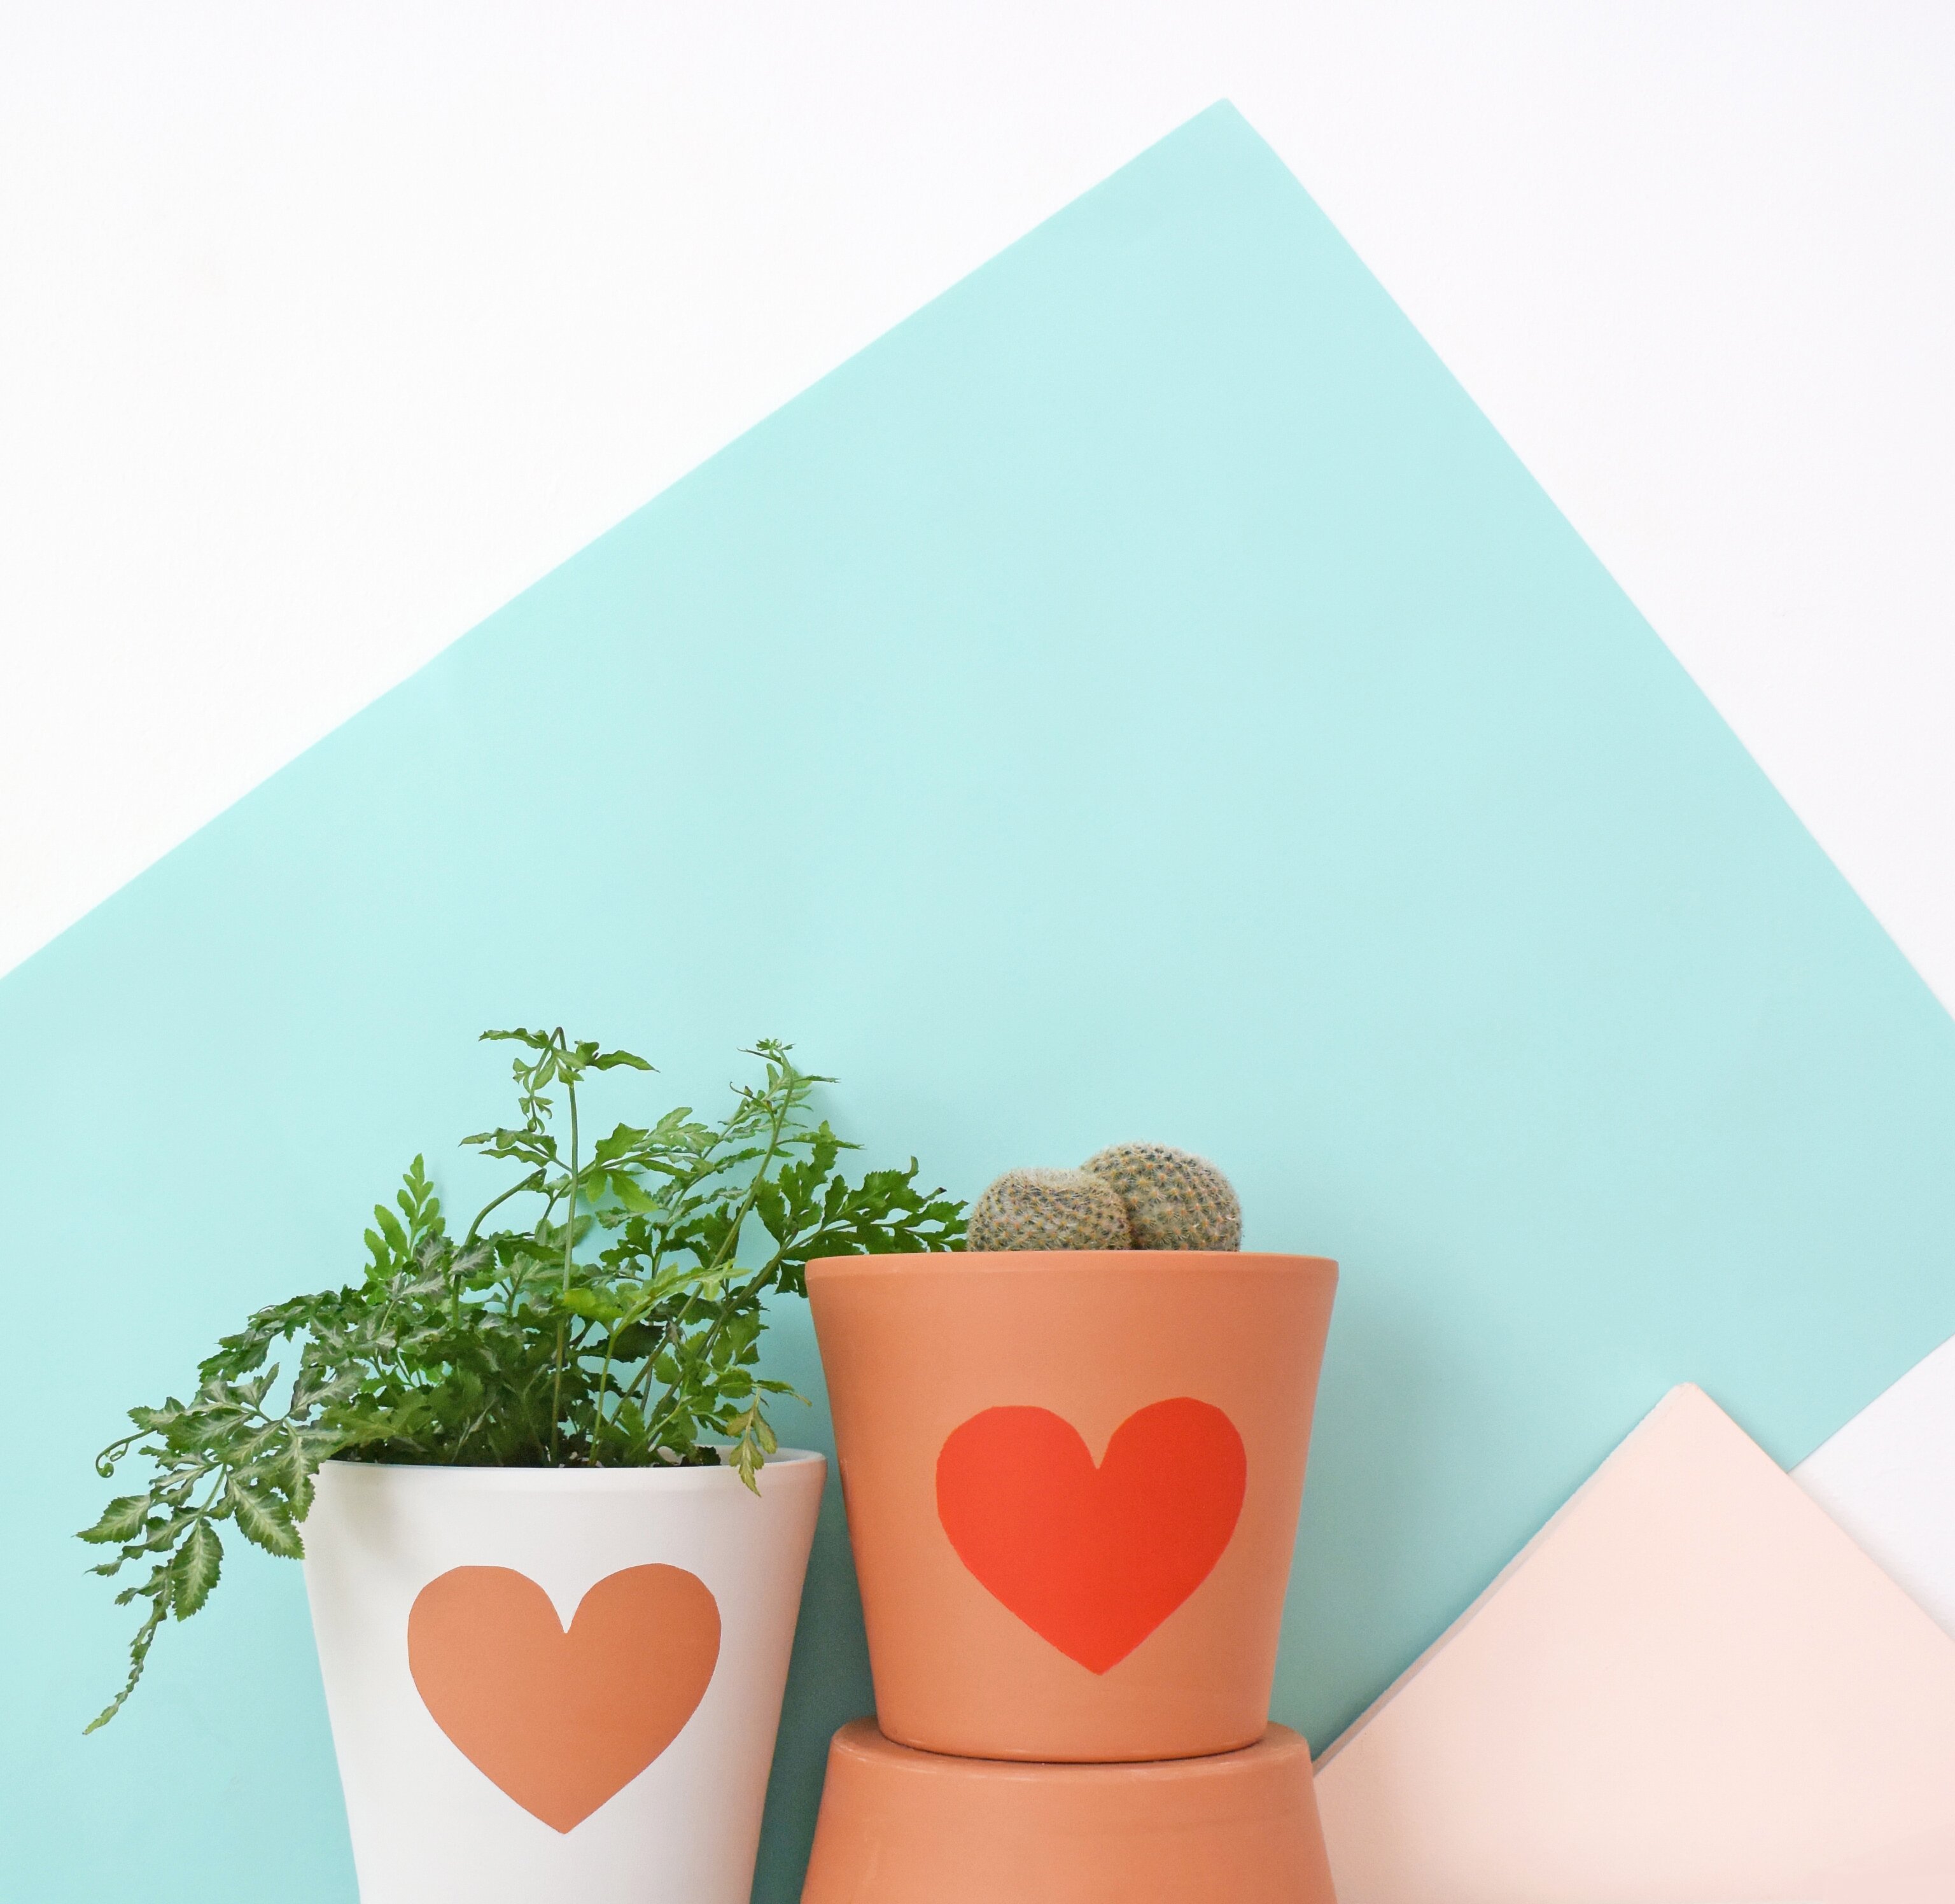
Valentine’s day is kind of a scam, huh? Spending all that money on cards, flowers, chocolates, and fancy dinners to show someone that you care about them. You can show them you care for free, and not just on one day a year. I’ve always liked the idea of making gifts to exchange on Valentine’s day, and any other day really! I love receiving plants as a gift (obviously) and the idea that you’ll have that plant for years to come and it’ll always remind you of the person that gave it to you. Of course, if that wilting, dried up fern in the corner is constantly reminding you of your a-hole ex, you have my permission to throw that plant out the window. This is a really simple DIY to make a lovey dovey plant pot to house a special plant, cactus or herb for your sweetheart. Or, make one just for yourself!
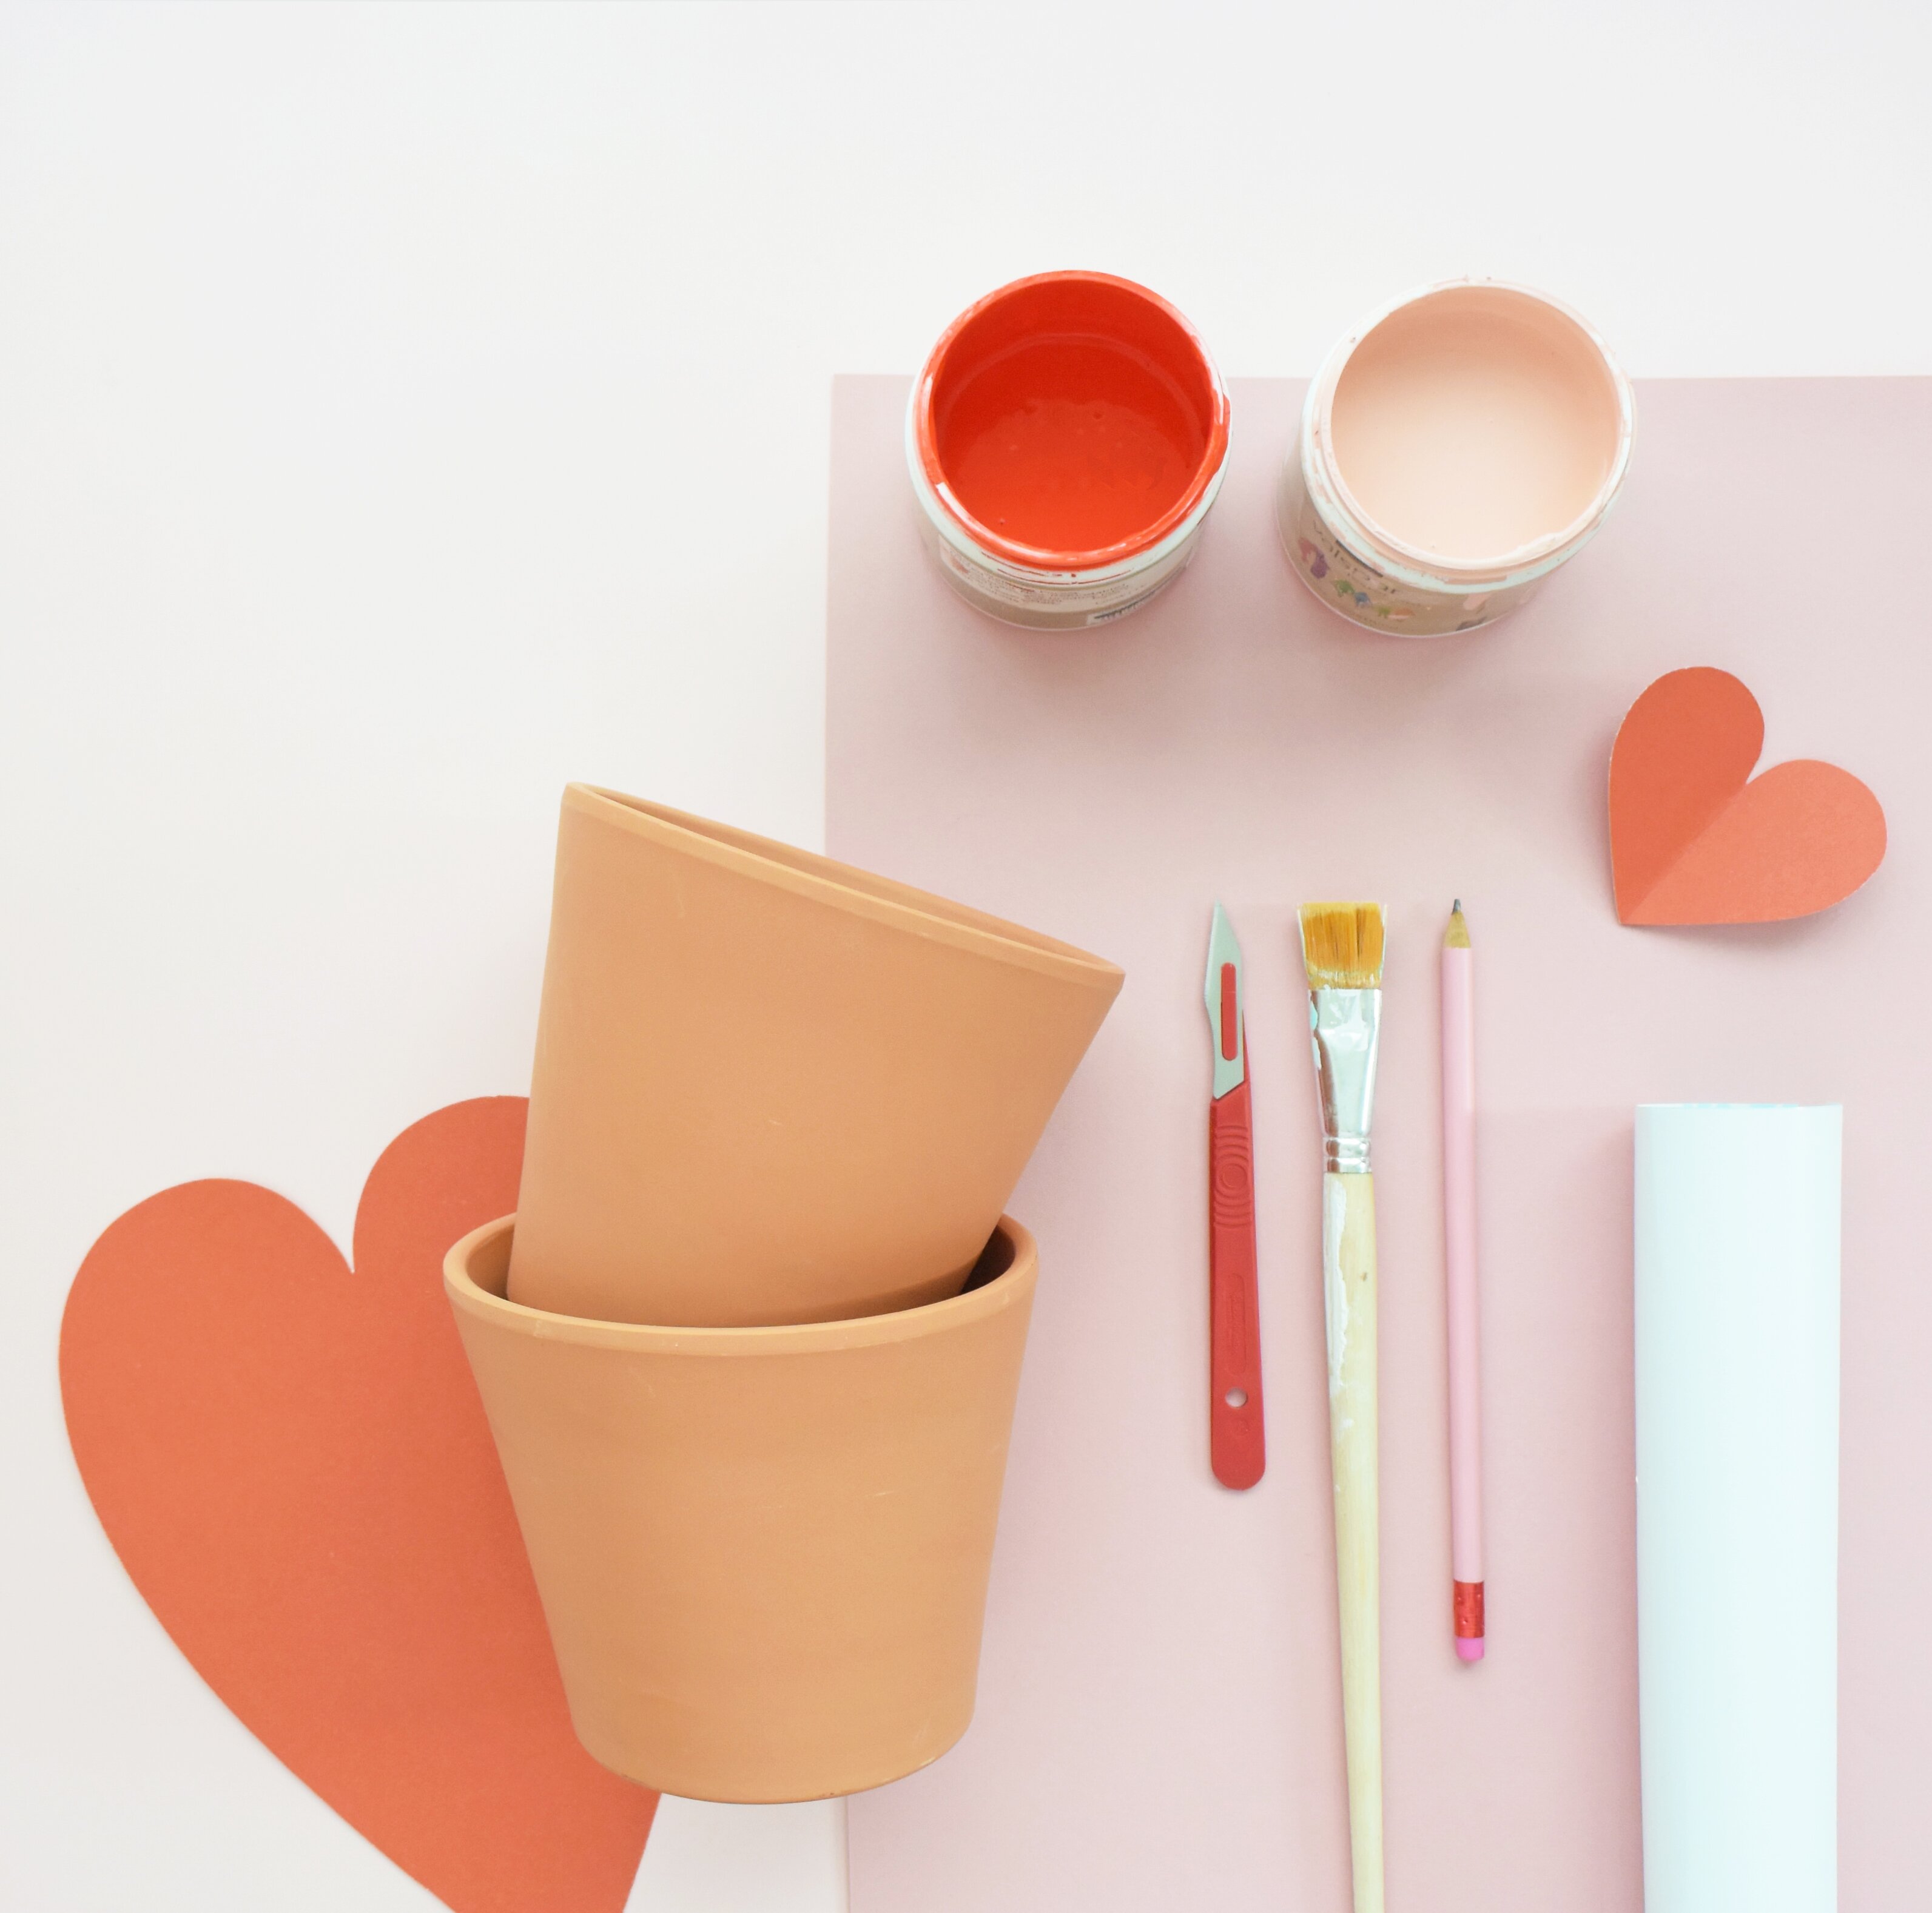
1

You will need

plant pot (mine are terracotta pots from IKEA)

paint (I’ve used red and white matt emulsion tester pots from Valspar)

sticky back plastic / removeable vinyl (I sourced mine from eBay)

paintbrush

pencil

craft knife / scissors

heart shape template


3

First, cut out or use an existing heart shape to make your template. I made mine by folding some card in half and cutting out a heart shape but you can draw around an existing heart you have or trace one. Next, draw around your heart template onto your removable vinyl. Make sure you cut your piece of vinyl so it’s big enough to fit the heart and that there’s around 1-2cm space around it. This means you’ll have plenty of room to paint. Using a sharp craft knife, cut out the heart.

4

Now, stick the vinyl onto your plant pot. I chose vinyl because it gives a really clean painted edge but you can also use masking tape instead if you want.

2

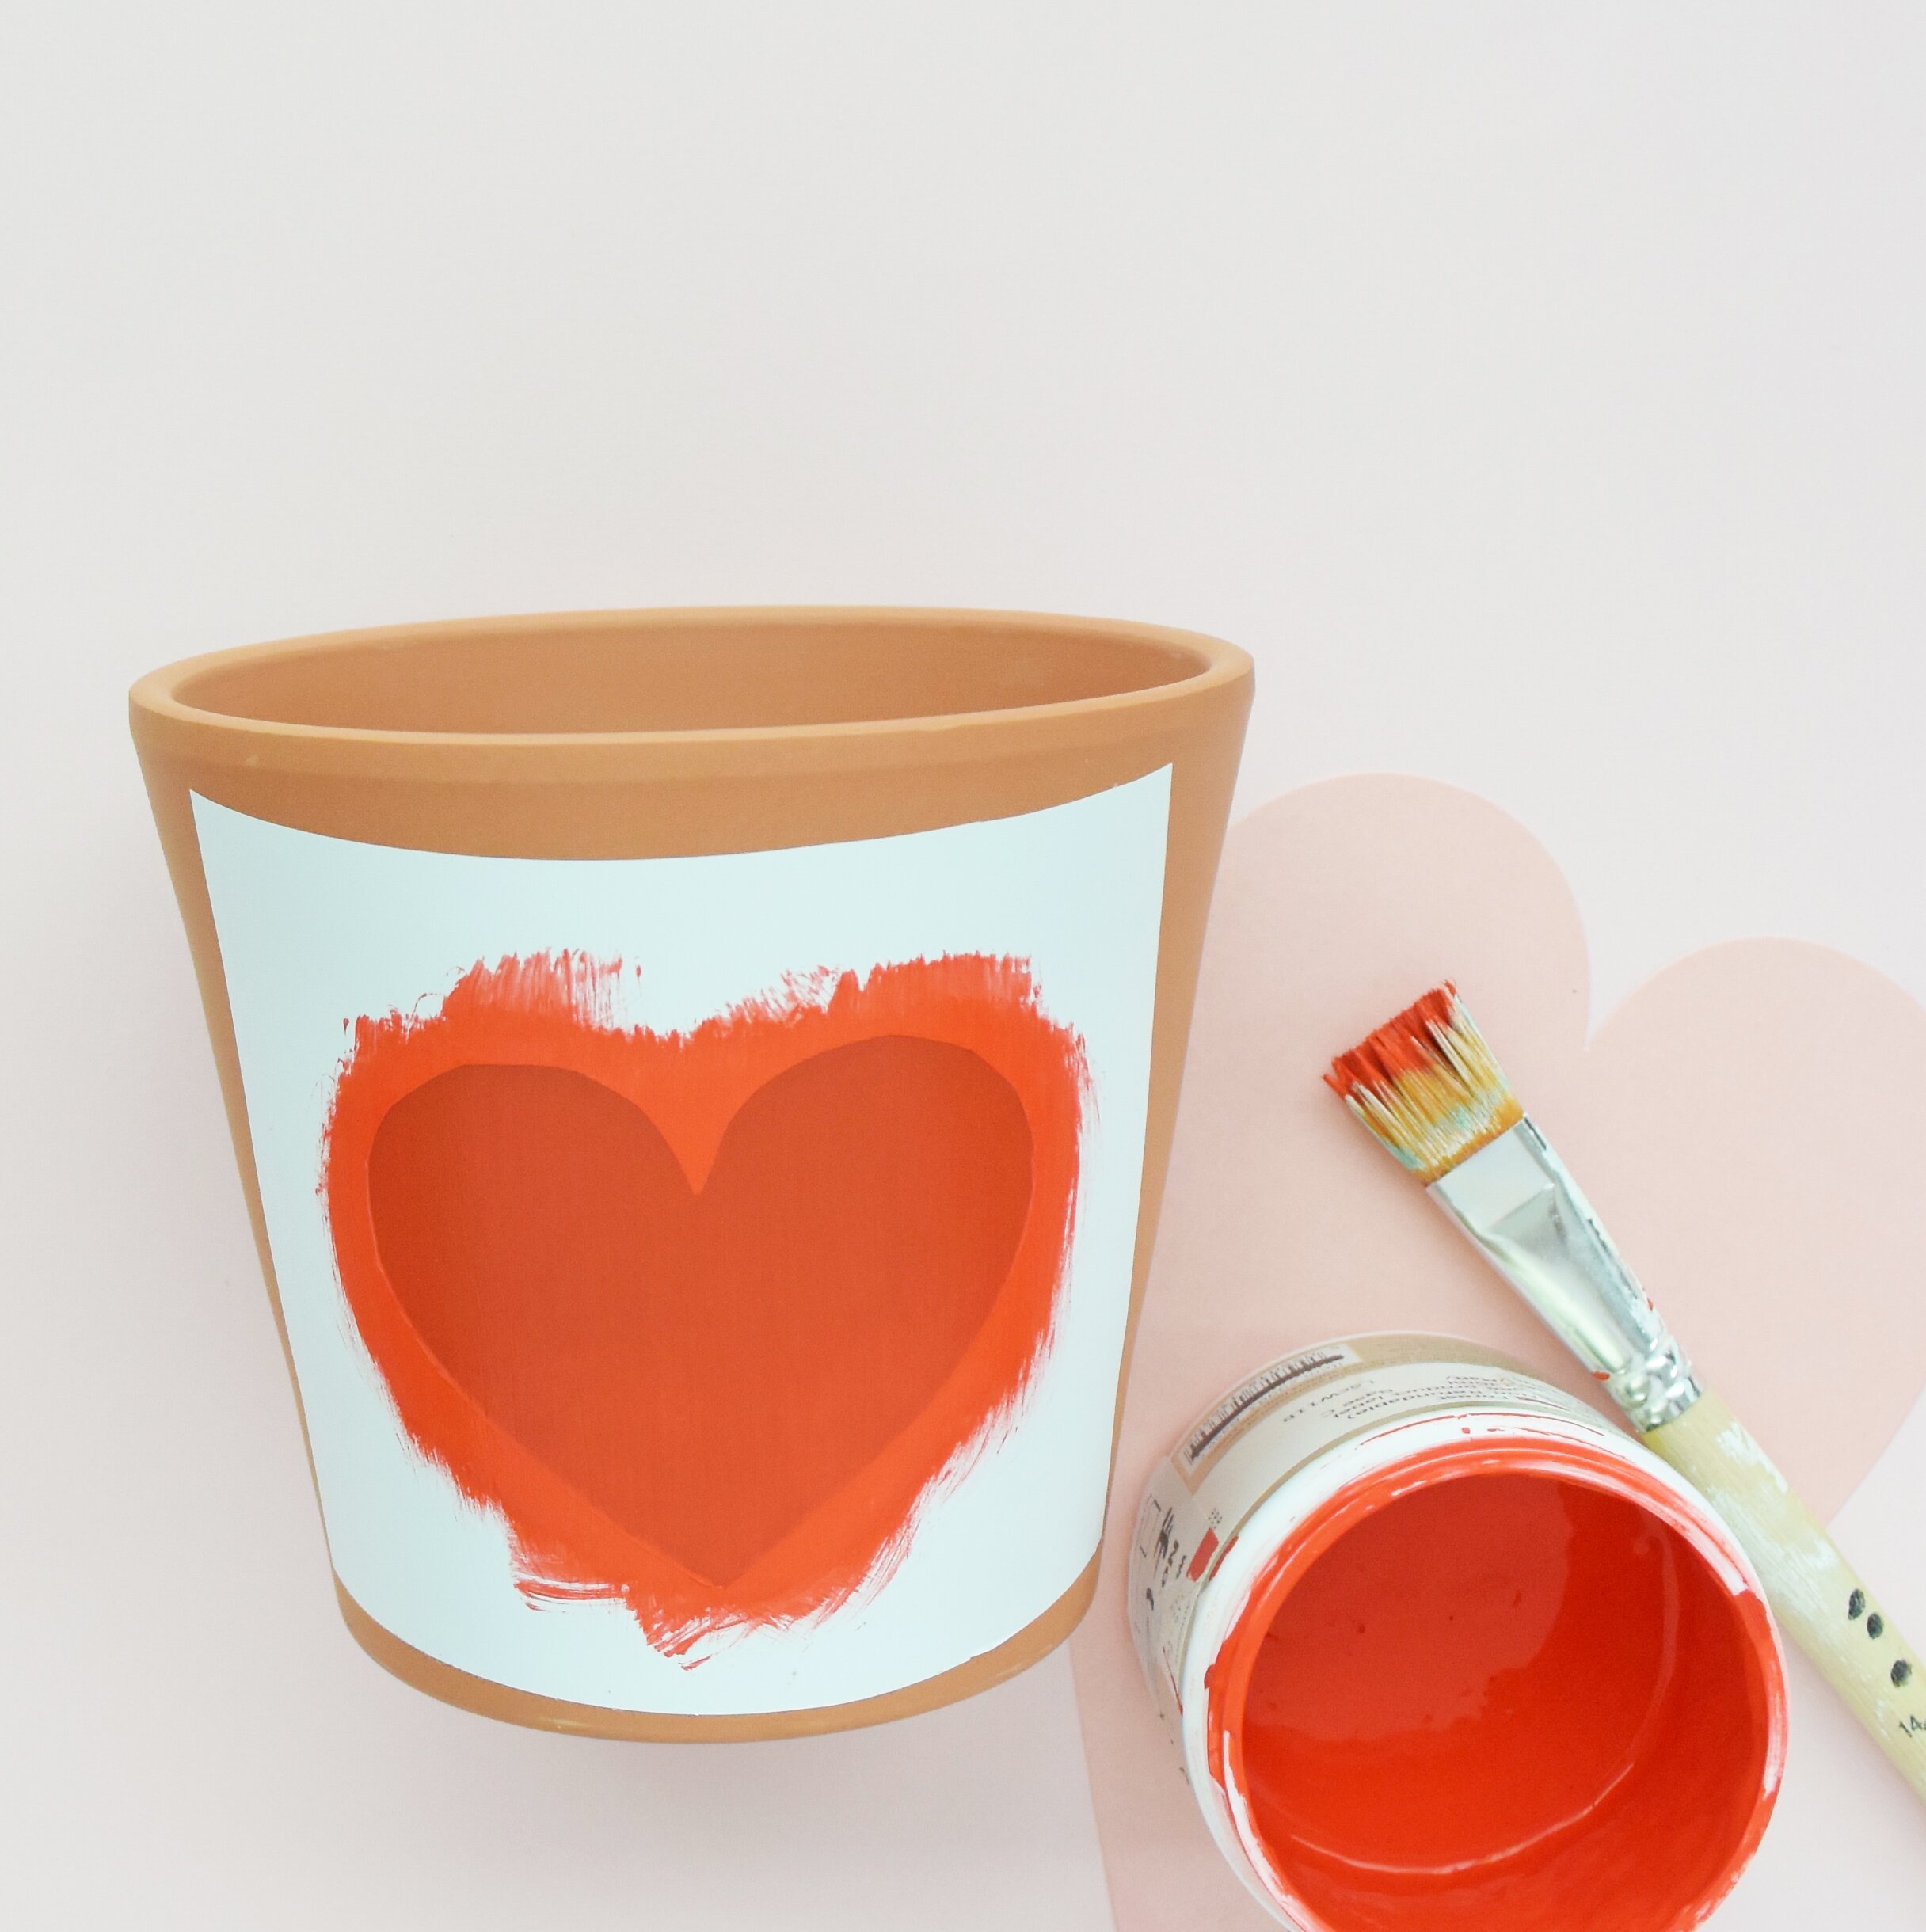
Now it’s time to paint! The matt paint works really well with the terracotta but if you’re using a gloss ceramic pot or other you might want to use paints that are specific to your chosen surface to make sure it wears well. Once dry, you can remove the vinyl giving you a (hopefully) perfect heart shape.

5

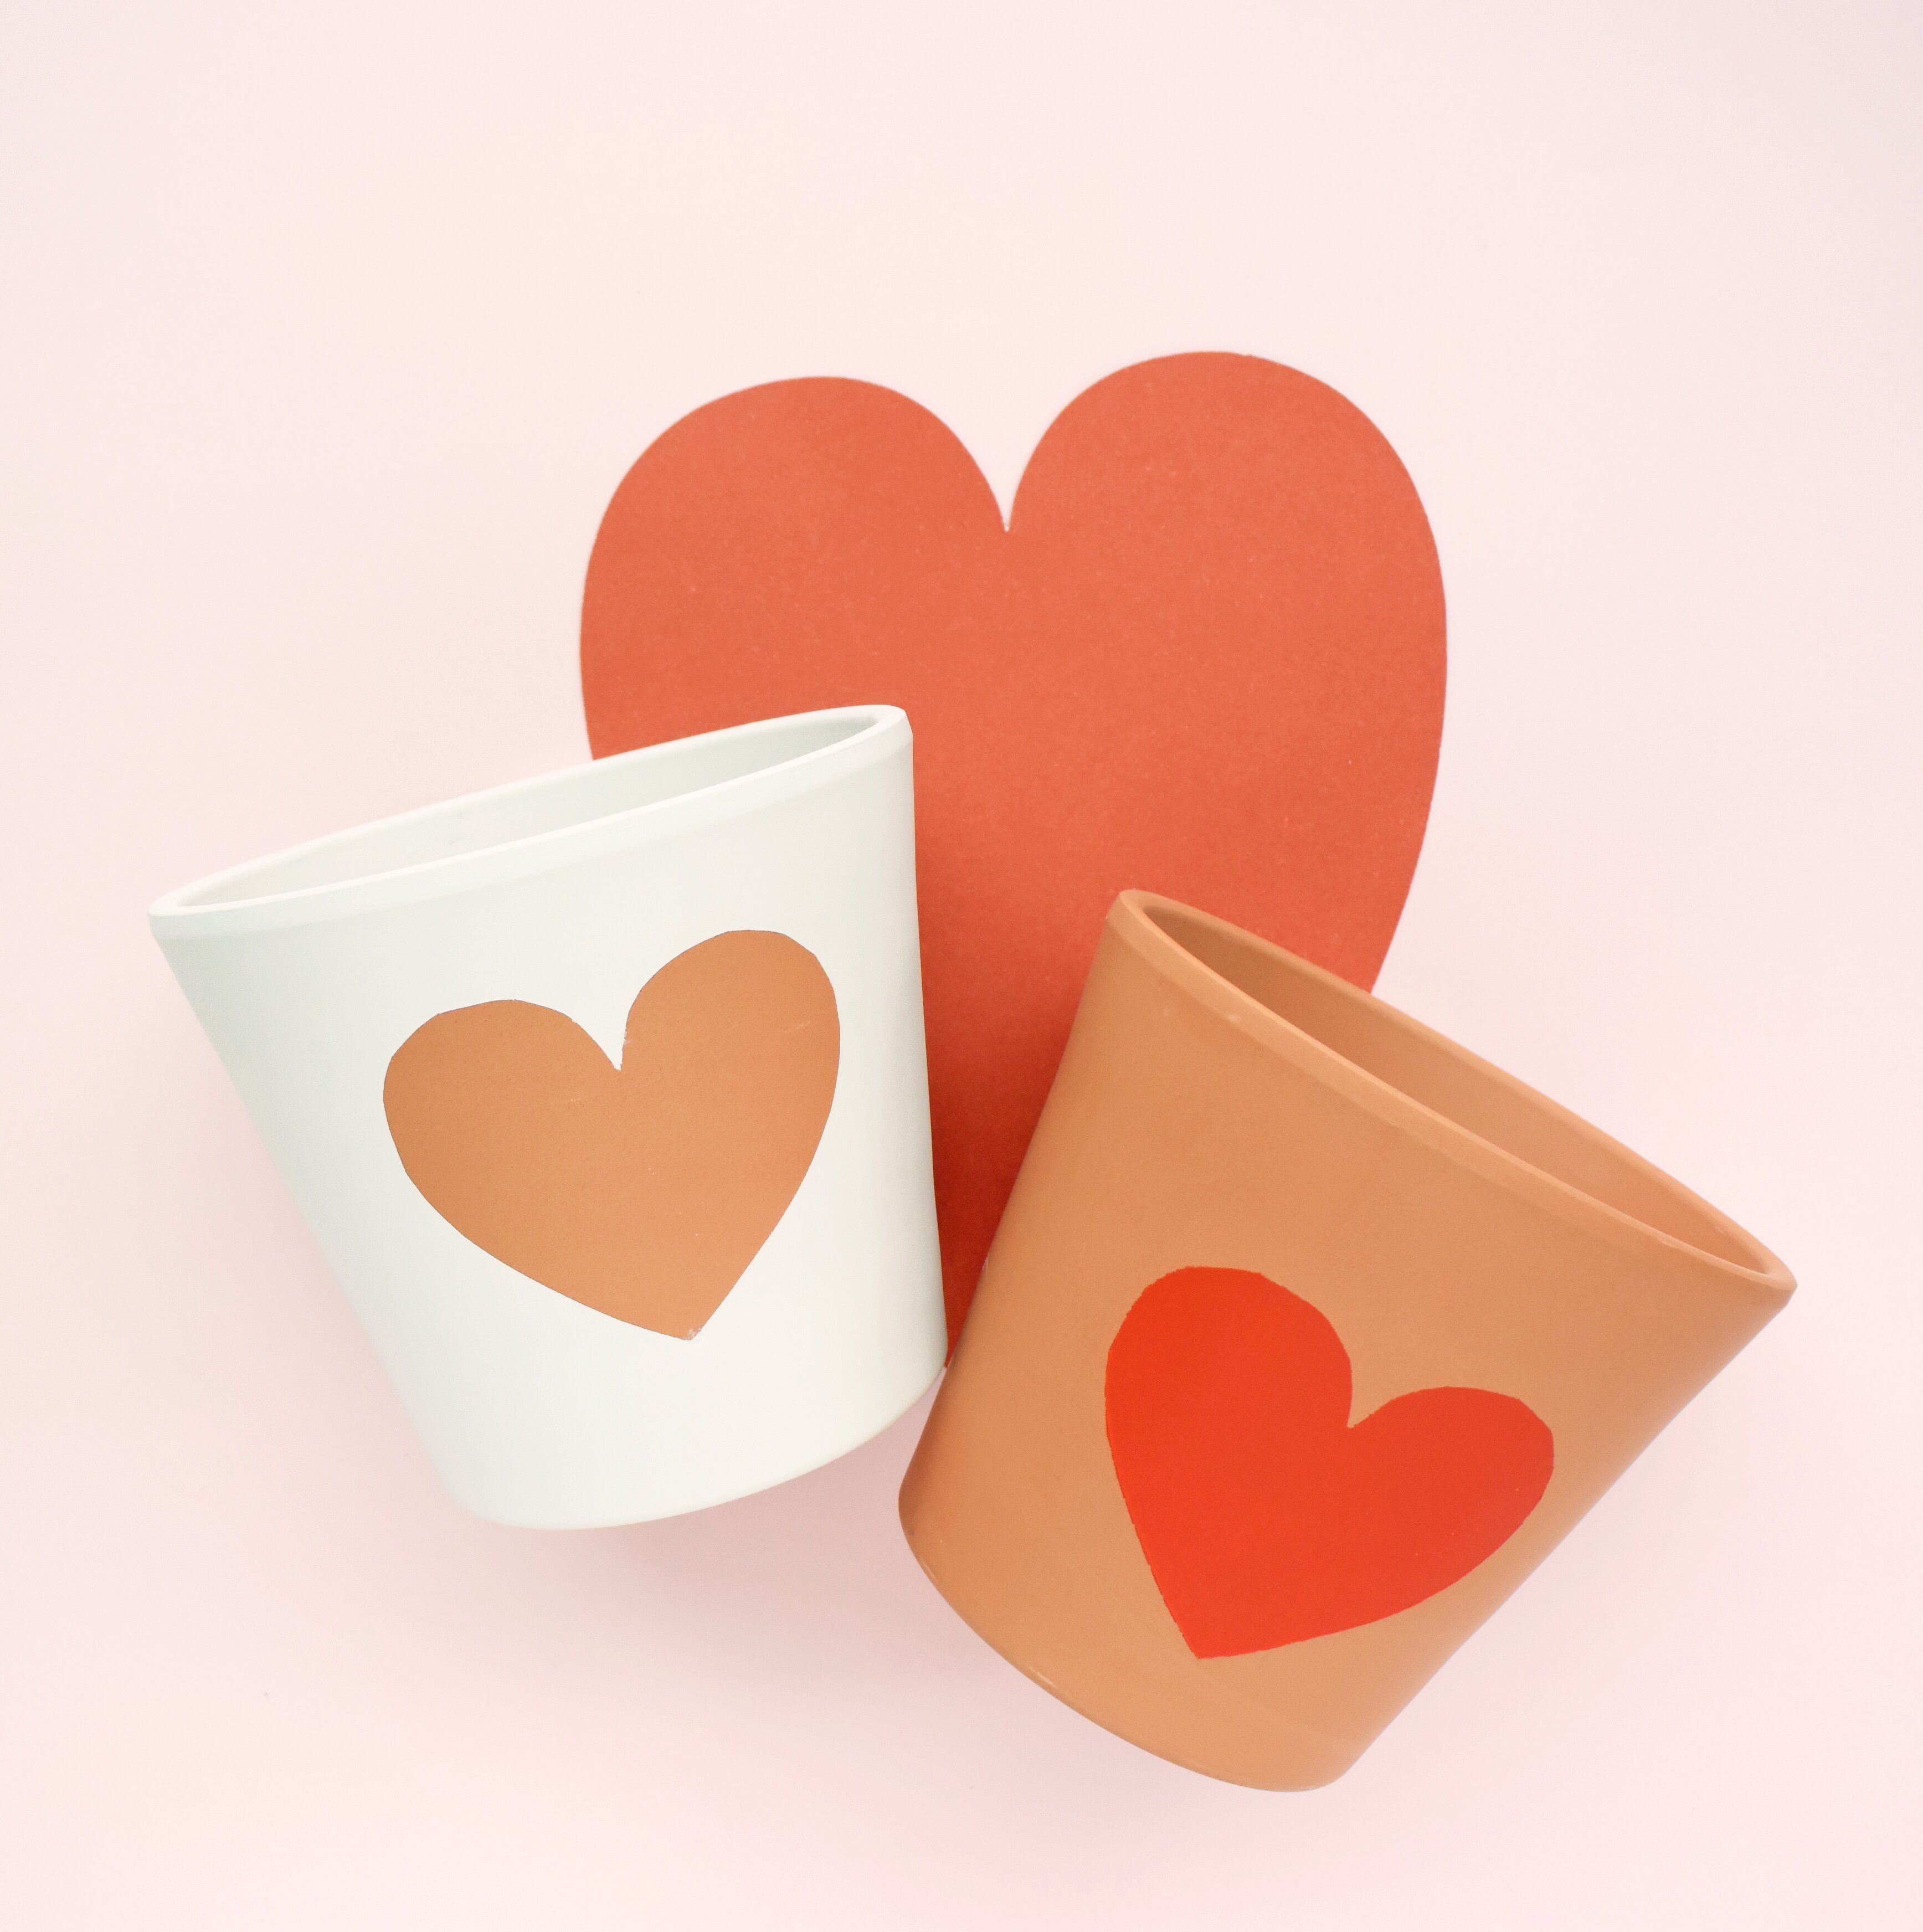
You can also try an inverted version of this by using the heart shape that you cut out as the template and paint around it.

7

Now it’s time to pop some nice greenery into your pot and give to your special someone.


DIY Minimal Winter Wallhanging

7

I love Christmas, but I don’t always love the traditional red and green colour combo. Nor do I always love the endless glitter and foil the high street is trying to get us to fill our homes with every year. This year, I decided to make a minimal, wintry wallhanging to decorate our living space.

1


You will need


wooden dowel (mine is 27cm long and 2.5cm thickness)

copper hoop 18cm (I sourced mine here)

pine cones

white paint

paintbrush

thread (sewing thread and thicker embroidery thread or wool/string if you prefer)

scissors


4

Firstly, paint your pinecones. I’ve used 2 for my wallhanging and gave them a dipped look by painting the top third of each cone white. You can actually dip them in the paint of course but this is a little more messy and will take longer to dry.

5

When the cones are dry, take your chosen thread and attach an end to the bottom of each pine cone. Depending on what kind of cones you’re using, this may be really easy or really tricky! I hooked my thread around a few of the scales and tied several knots to secure.

3

Next, it’s time to tie your copper hoop to the wooden dowel. I secured my hoop a little off centre to make room for the other pine cone but try playing around with your placement to find something that you like and that suits the type and size of the cones.  Simply knot and wrap your thread around each piece to secure. I’d recommend using a fairly strong, quality thread so it doesn’t break when a little weight is applied.

2

Now it’s time to attach your pine cones. Again, just wrap and knot your thread to the dowel and/or hoop to secure in place. You might find it easier to do this while the structure is hanging up. If so, secure your thicker, embroidery thread/string to the dowel, around 2cm from each end and hang before attaching the cones.

6

It would be fun to play around with different hanging shapes and different colours for the pine cones. I’m really happy with how this turned out and can’t wait to hang this up in our space every Winter.


A Christmas Tree Alternative

tree 3

We put our Christmas tree up over the weekend. I couldn’t have a tree last year because I lived in a tiny studio so I was glad to be reunited with all my decorations this year. I’ve been thinking a lot about alternatives to a traditional Christmas tree. I’ve always loved the sparse look of and how great a small collection of decorations look  displayed this way.

I made this Christmas tree alternative using some 6mm MDF, leftover paint, wooden hooks and my favourite decorations. The wooden triangle measures 120cm wide x 140cm high. Most timber yards/DIY stores can cut this for you but if you want to downsize the tree you can create the same look with cutting the same shape out of mount board / cardboard.

tree 2


Bedroom Makeover

bed-2

I’m so happy that our bedroom is now finally finished and I can reveal the end result. The room is very small (thank you London) and we have limited space and light and so wanted to keep the area as clean and clutter free as possible. We’re allowed to paint our rented home but really like the clean, open feel a white wall gives so kept the walls as they were.  We also wanted to have calming colours and accessories and also to include one of my favourite things and major inspiration – plants. The one thing that’s been missing since we moved in is the perfect bed. We searched around for a bedstead that we really loved and chose one from this Argos range.

bedside-2

Habitat walnut bed frame | Argos

bed 4-2

Grey linen bedding | H&M  /  Ombré throw | West Elm   /   Palm print | The Poster Club

clothing rail-2

Vases | Atelier Stella for West Elm   /   Basket decoration | Vintage   /   Clothing rail | Custom made

shelf 2-2

Leather shelf | Make your own here   /   Wooden hand | HAY   /   Print | James Burgess

bed 3-2

Rug | West Elm

bed 2-2

Print | Olle Eksell   /   Copper light | Make your own here

wallhanging-2

I wanted to have plants all around the room, even though it’s small.  It makes the space feel very calm and peaceful which is exactly what we want for the bedroom. It also helps with the overspill of plants from the rest of the house. I’m running out of space for them all!

shelf-2

Now, I’m off for a nap in my new bed! Who’s with me?


Older posts Newer posts

© 2015 Full Time Fiesta