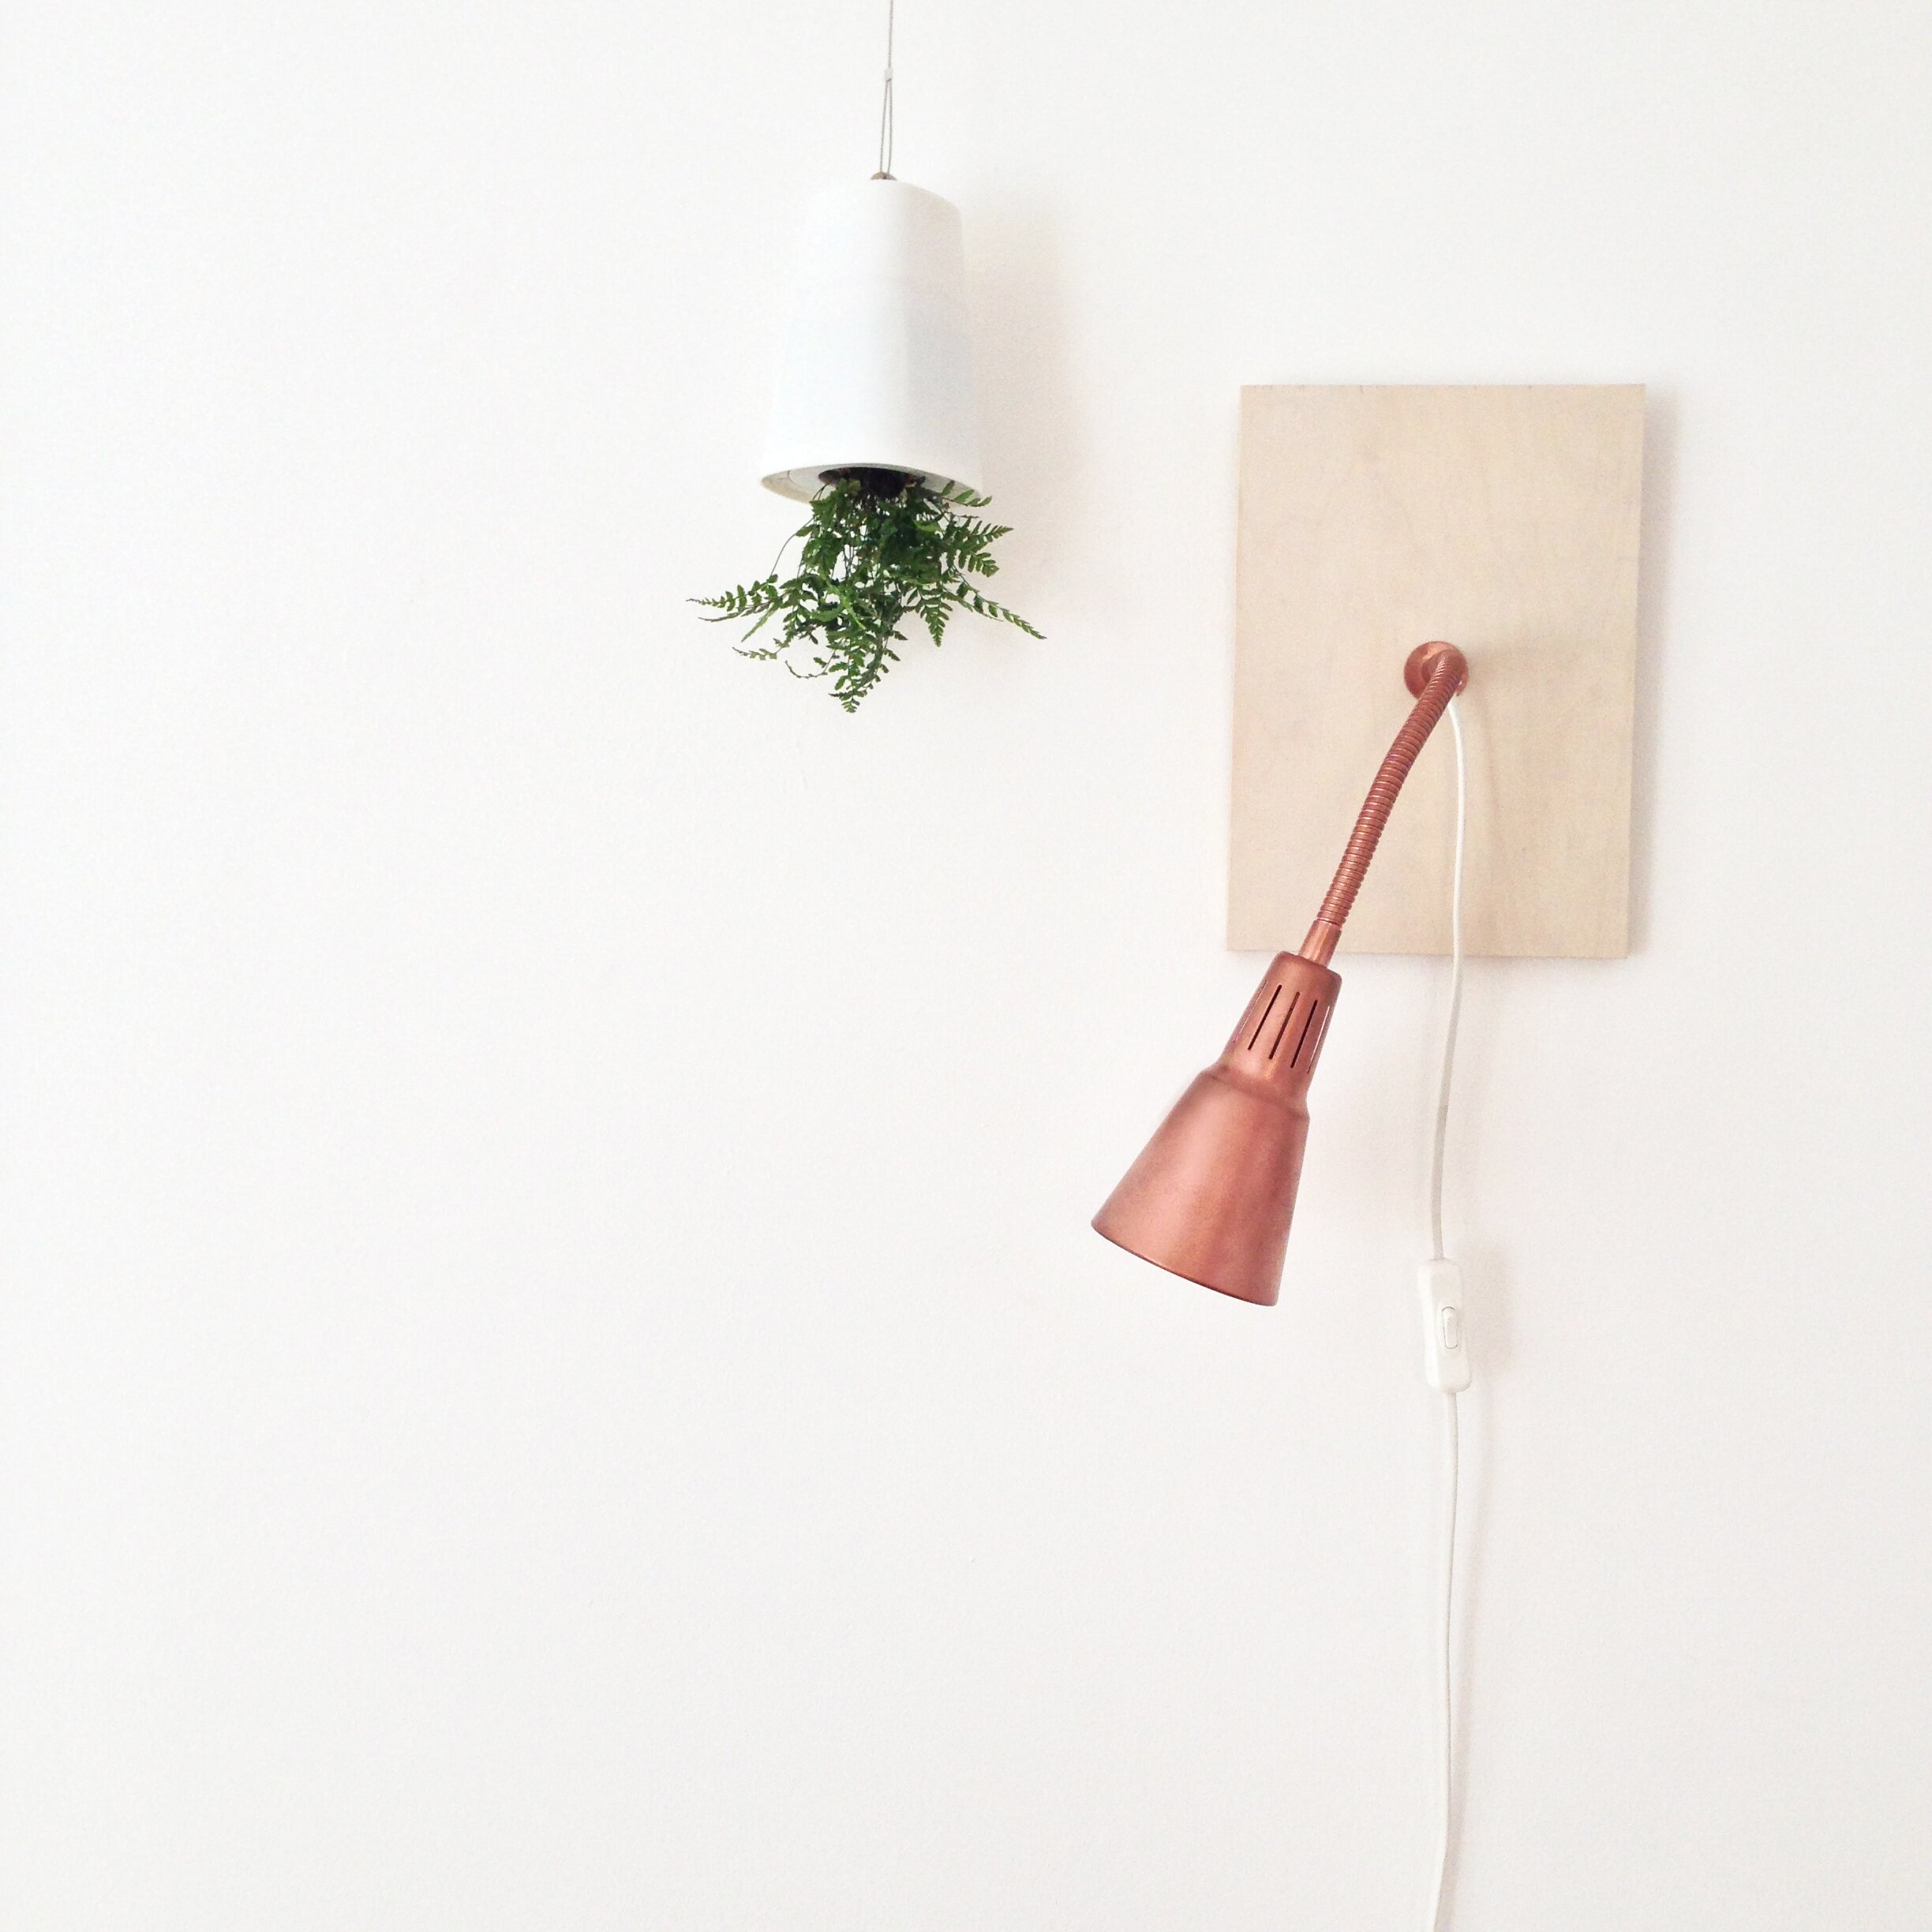
We really needed a mood / reading light for the bedroom and rather than spend money on a new one we thought we’d recycle this KVART lamp we had from IKEA which was only £5.25. The KVART comes with both a clamp and wall fitting. We seem to have lost our wall fitting so I’ve done this DIY without it.
You will need
KVART lamp
copper spray paint
wood (I’ve used birch plywood but any wood / MDF you like will do) My piece measures 18 x 26cm
varnish (optional)
hand saw
drill
screwdriver
screws x 2 (choose the correct length screws depending on the depth of wood you have)
masking tape
ruler
pencil
protection for your work surface

Take all fittings off the lamp. Here’s the clamp fitting I mentioned which I haven’t used for this project. Don’t forget to take the bulb out too!
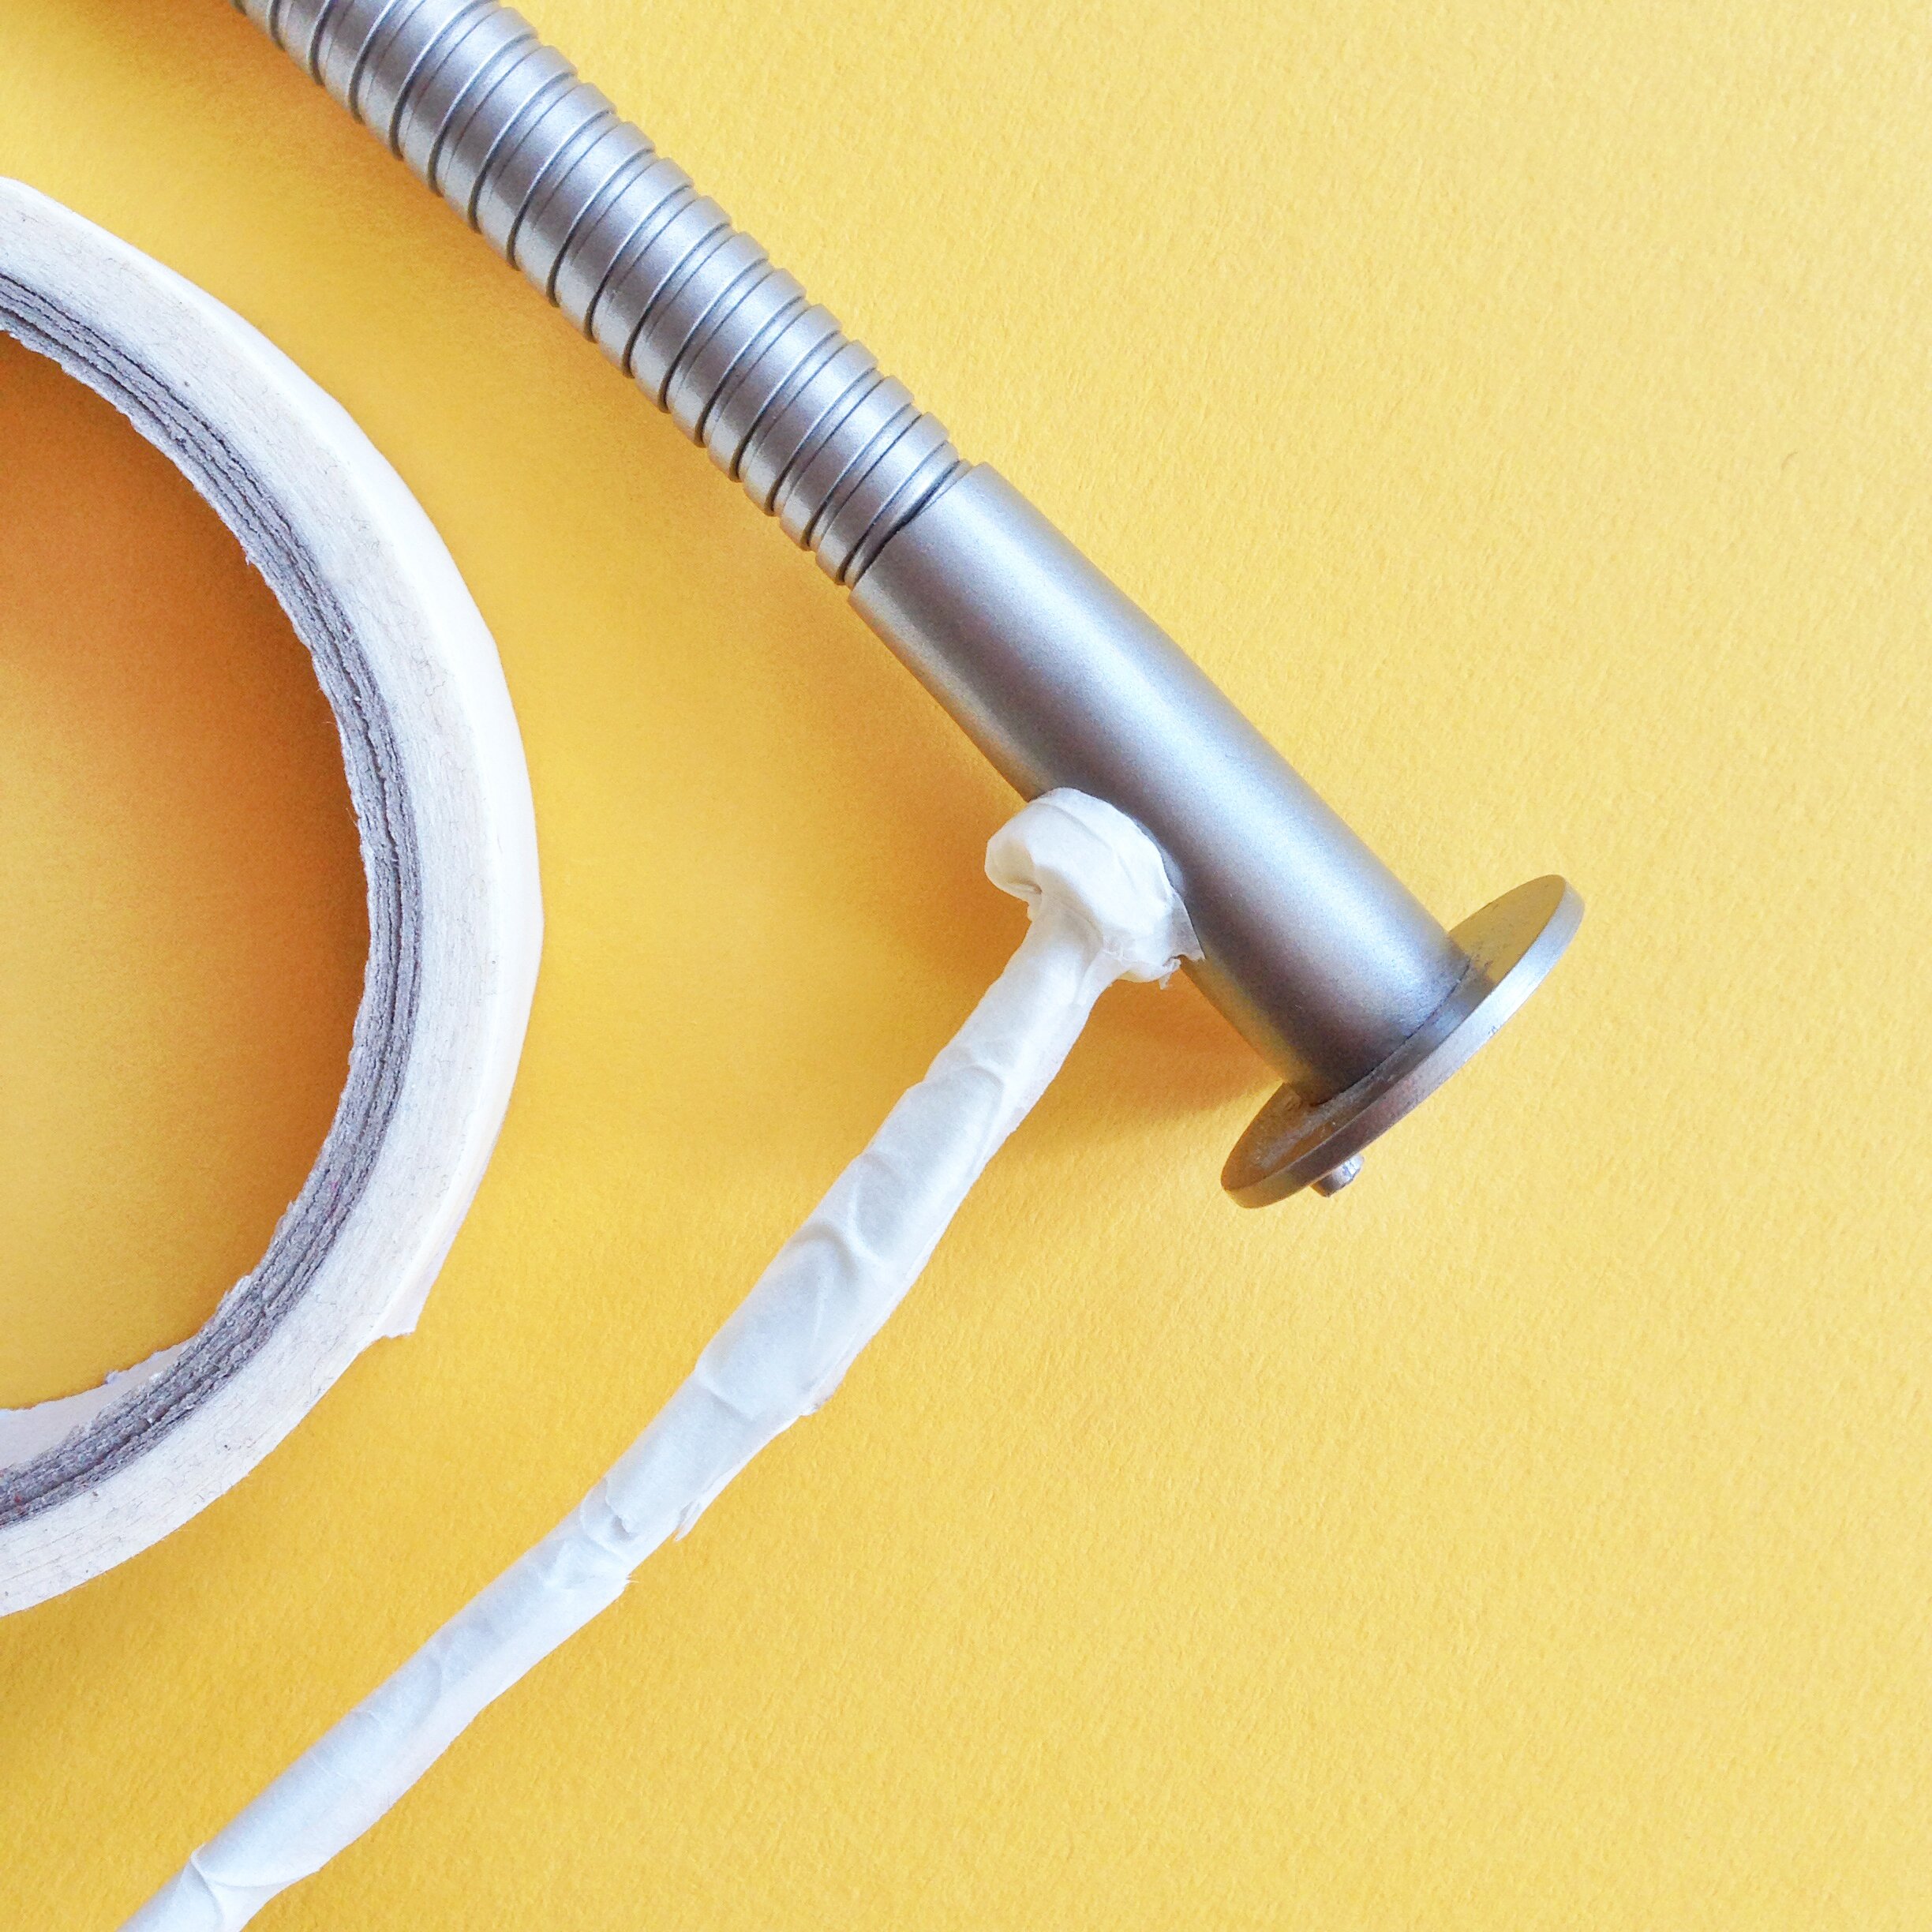
With masking tape, cover the flex so you don’t get any paint where you don’t want it. Also tape off the inside of the lamp just in case any spray creeps in. In a well covered and well ventilated area, spray the lamp (and wall fitting if you want to use this) with the copper spray paint and leave to dry for at least an hour and give a second coat if required.

Now it’s time to prepare your wood. I used an old piece of birch plywood and cut it down to size (18 x 26cm) using a hand saw then finished the edges with a fine sandpaper. You can cut your wood by hand or if you prefer, places like B&Q will cut the wood for you. This might incur a small charge or you might have to buy the whole piece of wood you’re cutting from. I gave the wood 1 coat of varnish using Valspar interior matt varnish in organic cotton. Birch is a beautiful pale wood but I wanted it just a touch paler to compliment the copper. Varnishing is totally optional but you may want to paint / stain your wood a bolder colour or just give a clear varnish to protect it.

Next, you need to find your centre point using a ruler and mark it out. If you are using the wall fitting provided with the lamp, use the screw provided to fit the lamp to the wall fitting. Next, place the lamp and fitting onto your centre point and mark out where the screw holes are with a pencil. Using a drill, make pilot holes for the screws. Then, place the lamp with wall fitting back onto the wood and screw into the wood.
If you choose not to use the wall fitting or like us, have lost it you can still fit the lamp onto your wood using the screw provided and screwing it in from the back. To do this you must ensure that the wood you choose is not too thick or the screw won’t go all the way through the wood to the lamp. Using your centre point as a guide, drill a hole through the wood. Then screw in from the back, holding the lamp in place at the front until secure.
This project wasn’t difficult but I think if we had the wall fitting it would have been a bit easier!
To fix to the wall I’d recommend a sawtooth picture hanger available in most hardware / DIY shops or online. The finished project isn’t especially heavy but always choose the correct screws / wall plug / fixings to secure to your type of wall. To fix to the wall in a rented home (or where you don’t want to damage the walls) there are these non-permanent hangers.

0 Comments
1 Pingback